How to Skim Coat Walls
Next, grab your skim coating blade and with firm, even pressure, sweep it across the roller texture. The goal is to remove as much excess joint compound as you can. Think of this as smoothing rather than building up a material. Work in sections and think thin layers!
Perfectly Smooth Walls: A Skim Coating Tutorial
Hi friends, Emmett here! Sarah mentioned she gets a lot of questions about drywall finishing, the texture of the walls in our home, and how to achieve those perfectly smooth walls. I’ve been plugging away on our home office renovation and of course- the designer (aka my wife) requested a level 5 drywall finish… which basically means she wants perfectly smooth walls. That’s always her preference, if possible. I thought it would be helpful to share some visuals and tips for achieving that super smooth finish with a quick skim coating tutorial. Click through for some helpful tips, finishing vocab (to pass along to your contractor, if you’re using one), and some tricks for achieving quality craftsmanship.
When is skim coating handy or necessary? If you’re trying to smooth existing drywall, cover wallpaper texture, or are repairing drywall skim coating is your best bet. In our case, the existing drywall in Sarah’s office wasn’t in great shape and had both texture, wallpaper removal lines as well as a two inch wide stripe around the room from removing the chair railing. Half of the sheet rock in the room is new and the other half is existing, so my goal was to skim coat everything to match, resulting in a level 5 finish.
First up… let’s chat about the finishing levels, which also kind of translates to the phases if you’re going for that smooth look. There are 5:
- Level 0 // This means there is no finishing that has been completed. At this level, the sheetrock is just hanging on the wall or ceiling, with nothing done to it. Screws and joints exposed.
- Level 1 // Level one means that the joint tape has been installed and mudded, but nothing else has been completed.
- Level 2 // This level means that you have skim coated a thin layer of joint compound over the tape and covered the drywall screws. If you’re planning to tile, it’s fine to stop at this level. Many tract homes receive this level in the garage.
- Level 3 // This stage indicates a solid coat of joint compound has been installed to the tape and screws. Walls that will receive a heavy texture (like knockdown), often stop at this level. Level 3 finishing is meant for a highly textured wall outcome.
- Level 4 // This is your classic drywall finish… the standard or norm. Level 4 receives an additional coat of joint compound to cover the tape, seams, screws, and has been sanded in between. This is the most common finish and can be painted or wallpapered nicely.
- Level 5 // As you might have guessed, Level 5 is the gold standard. It’s as smooth as you can get, or the highest finish possible. There are no bumps, no texture, and it’s achieved by multiple skim coat layers that are finished with a good sanding.
If you’re striving for a five finish, this is what I used to achieve that…
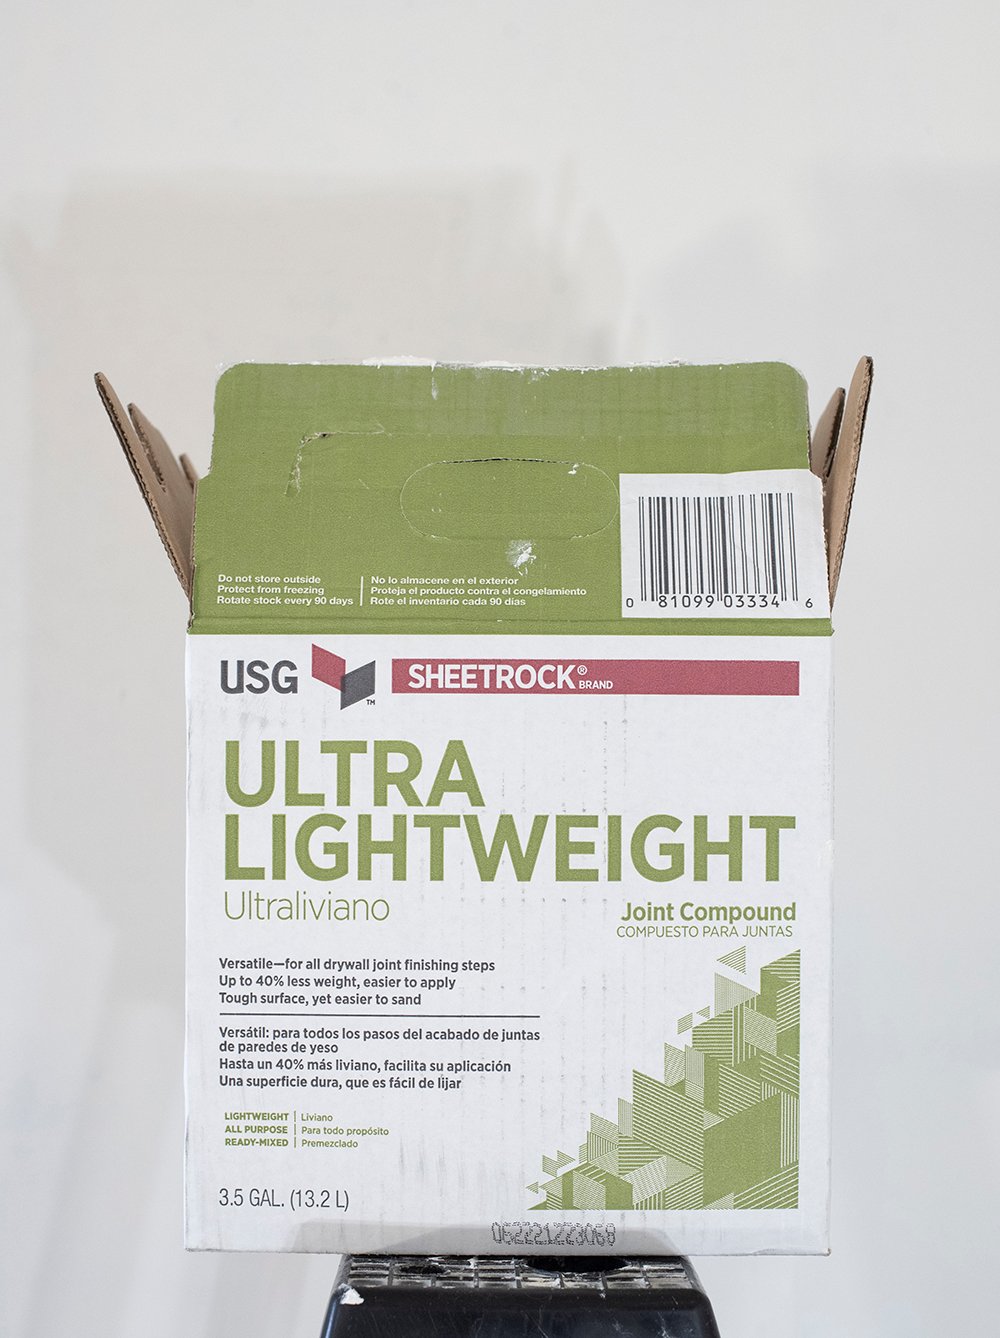
- Joint Compound(I like ultraweight)
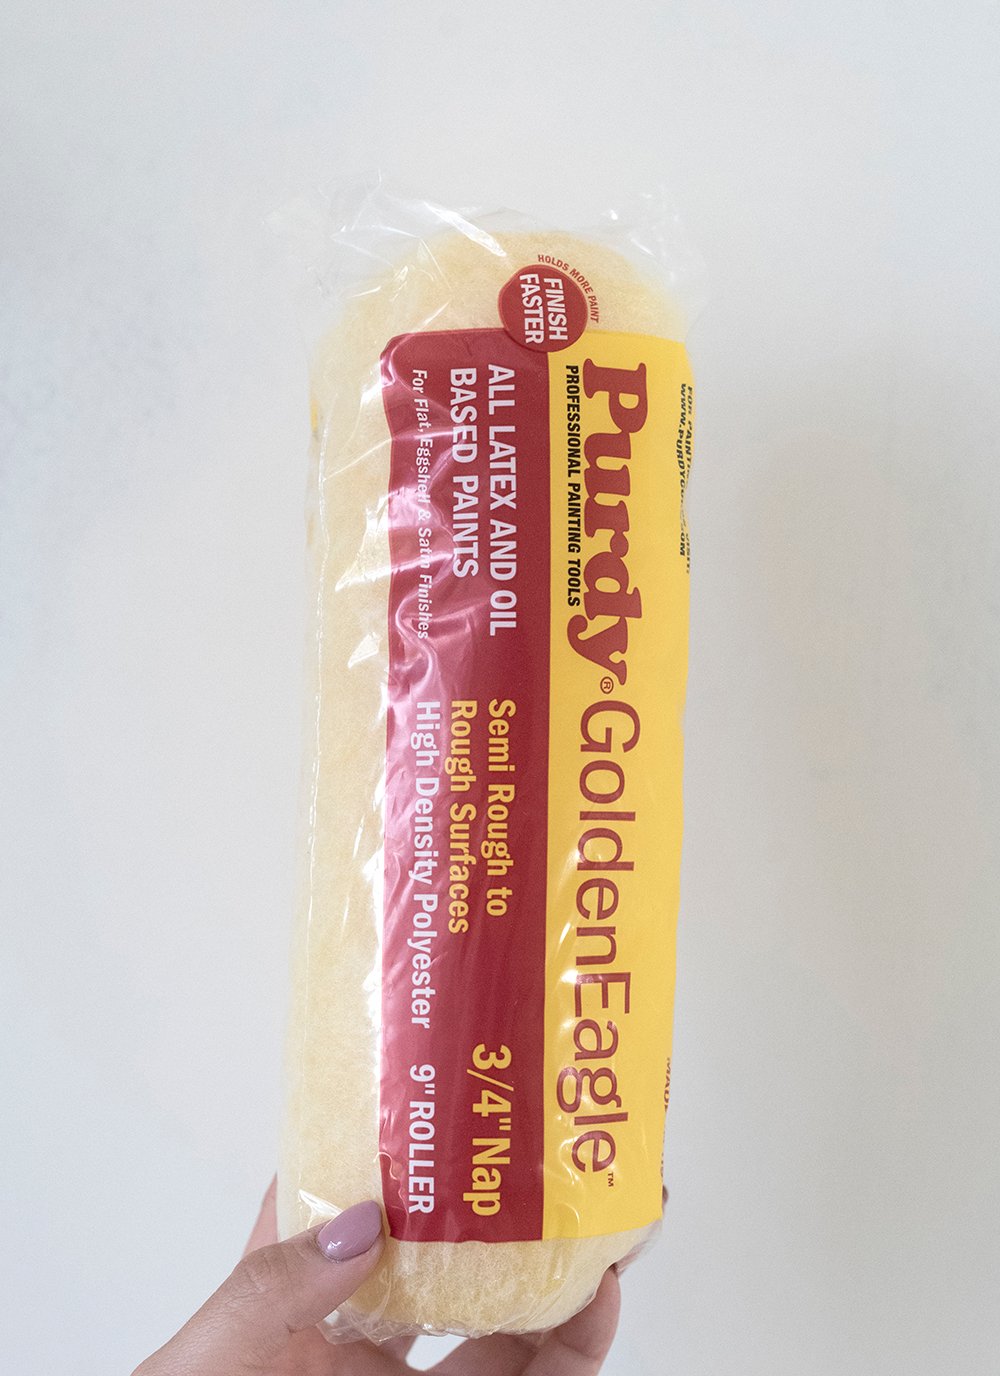
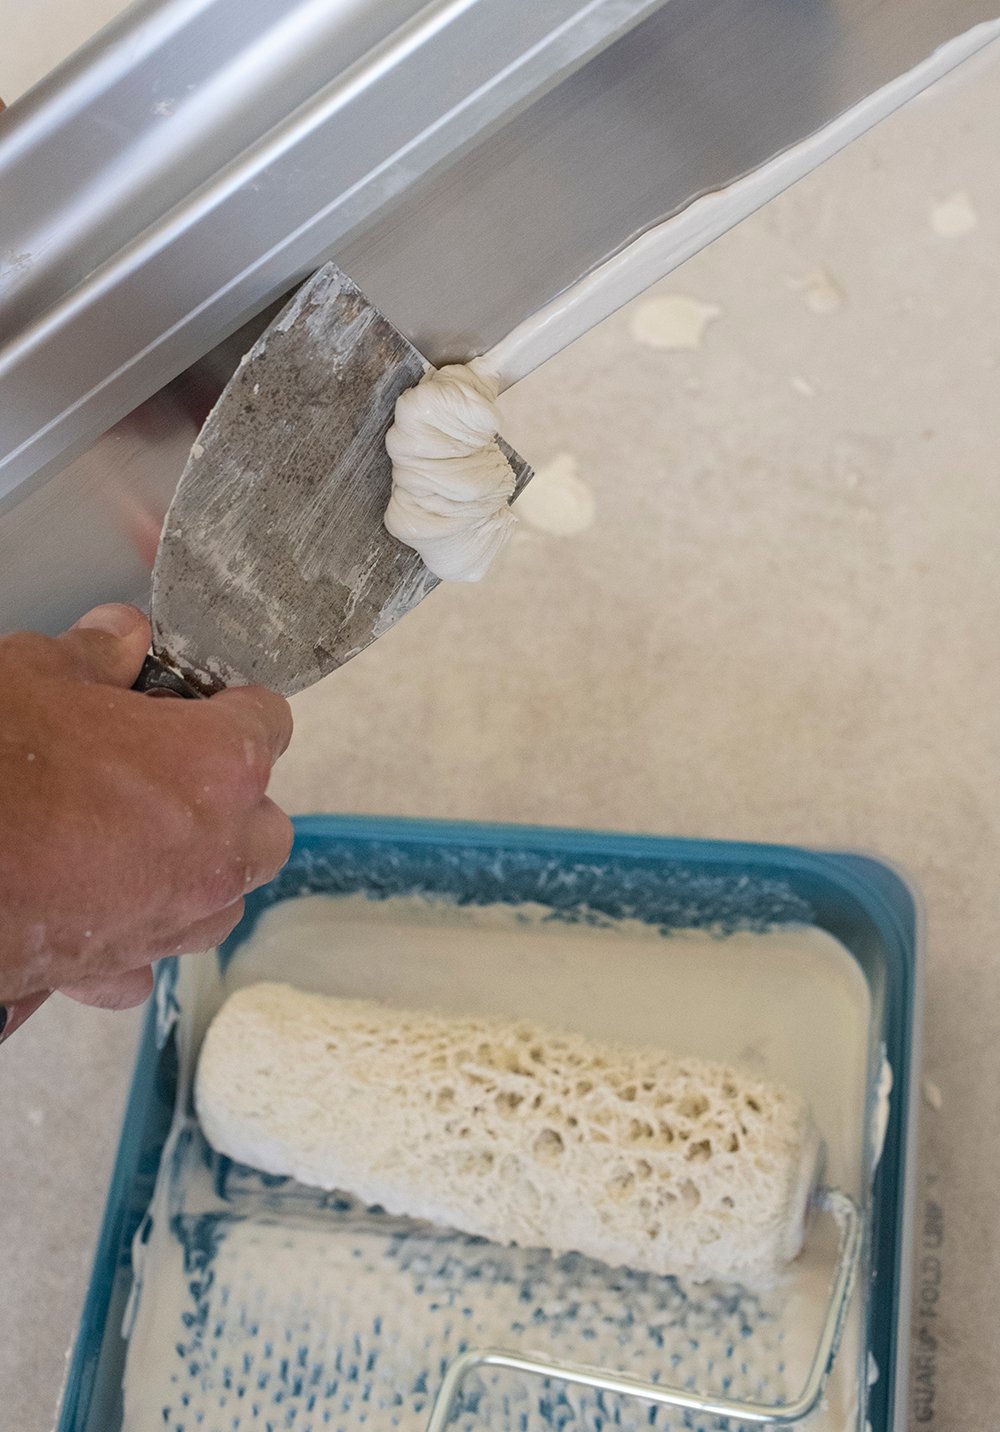
- Roller with a 3/4″ Nap, pictured above (the nap is important because it provides texture and rolls it on thick)
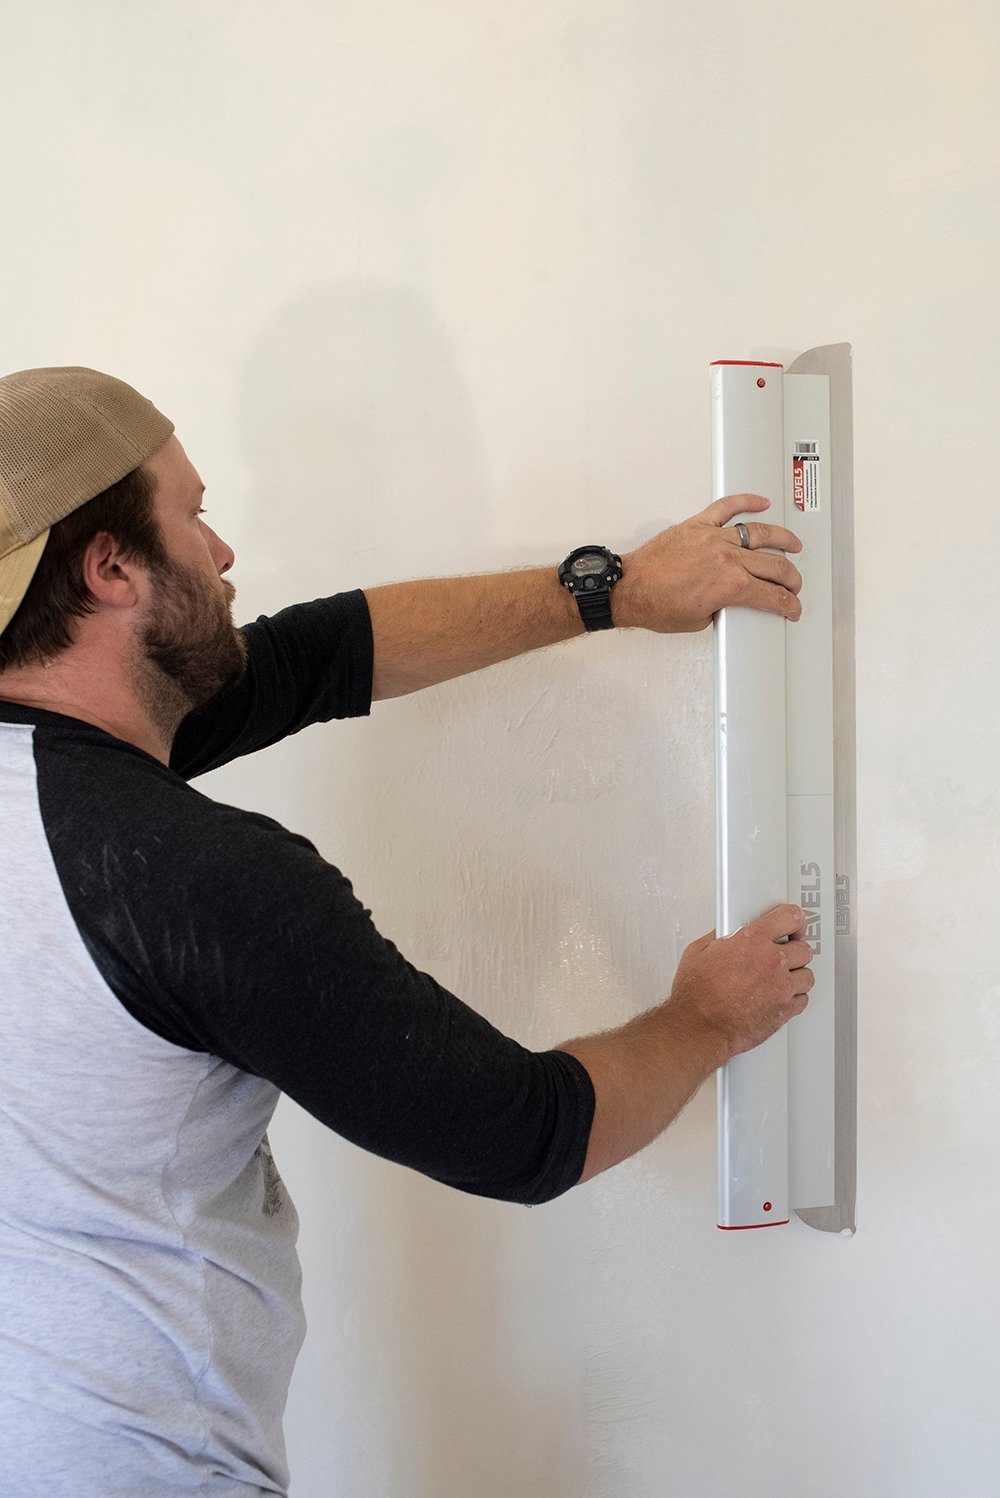
- Skimming Blade(I have a 32″ for walls and a 12″ and 14″ for working around outlets and windows)
- Sanding Pads(I use 220 and 180)
- Drill with Mixer Attachment
- Bucket with Lid(to keep it from drying out in between passes)
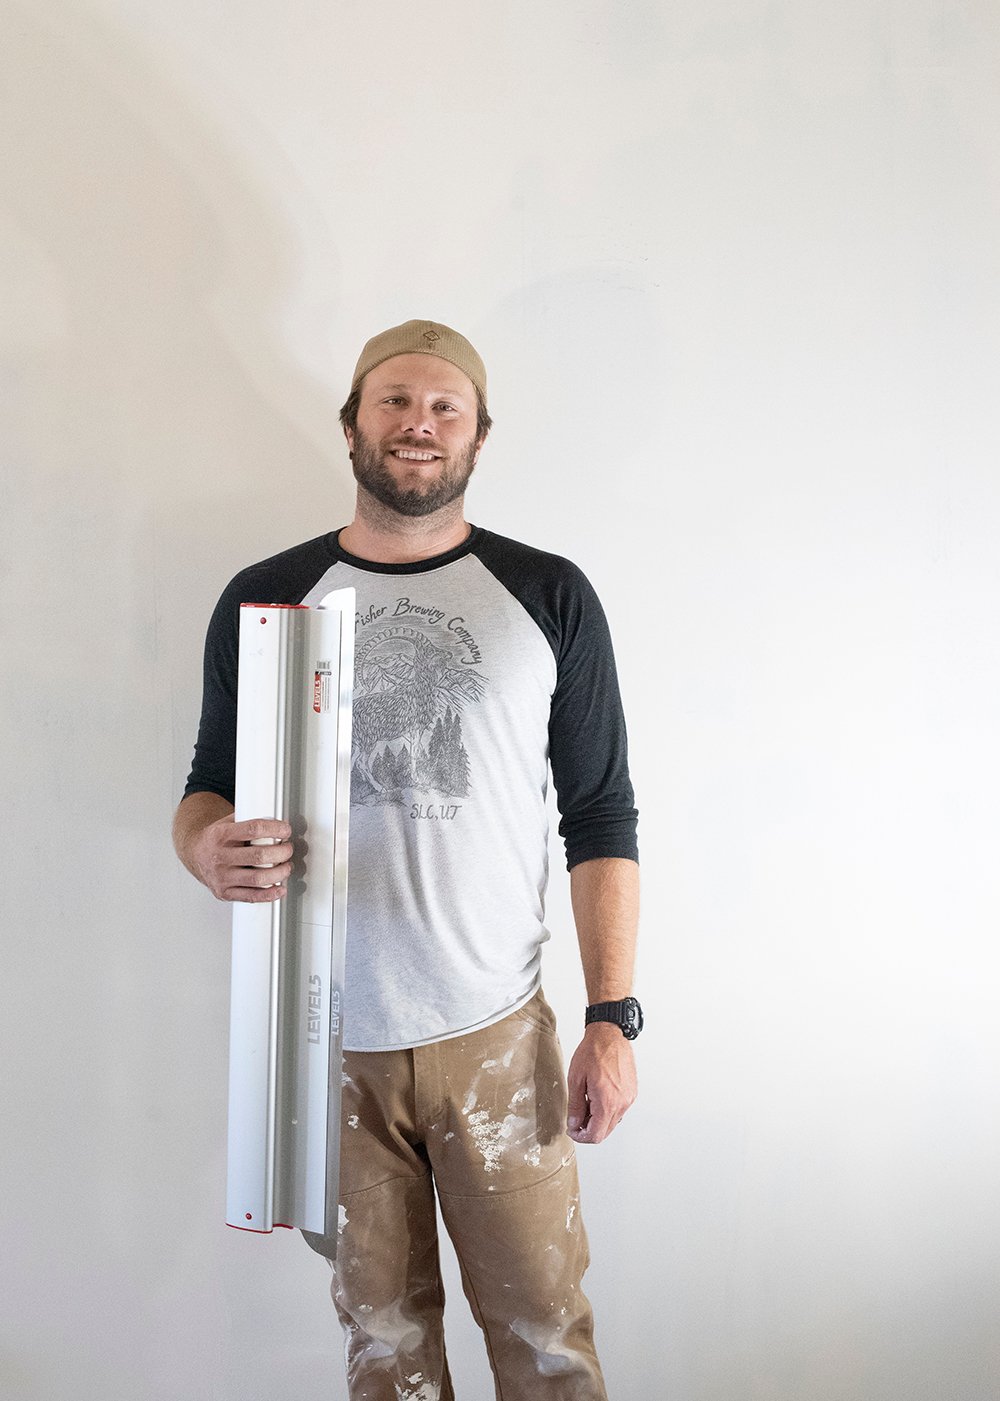
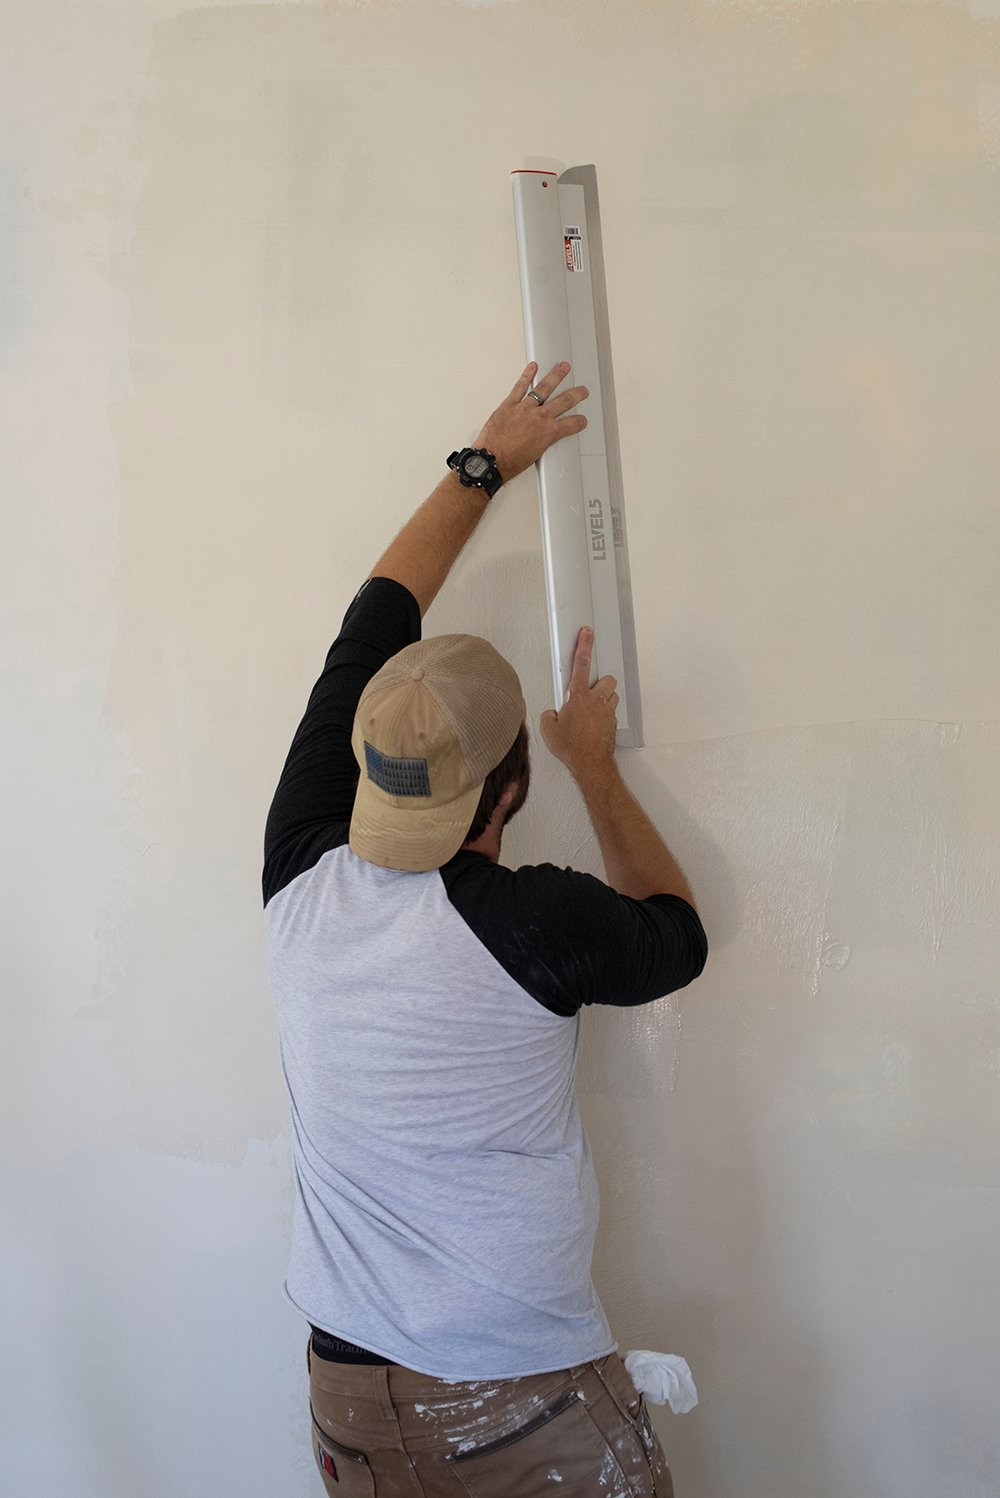
Before we get started… the longer the skim coating blade, the flatter your finish will be. For scale, here I am with my 32″ skim coating blade. If your wall is very unlevel or uneven, you’ll probably want to begin with a 24″ blade, and hit the problem areas first before moving to the 32″. Ready to walk through the skim coating process?
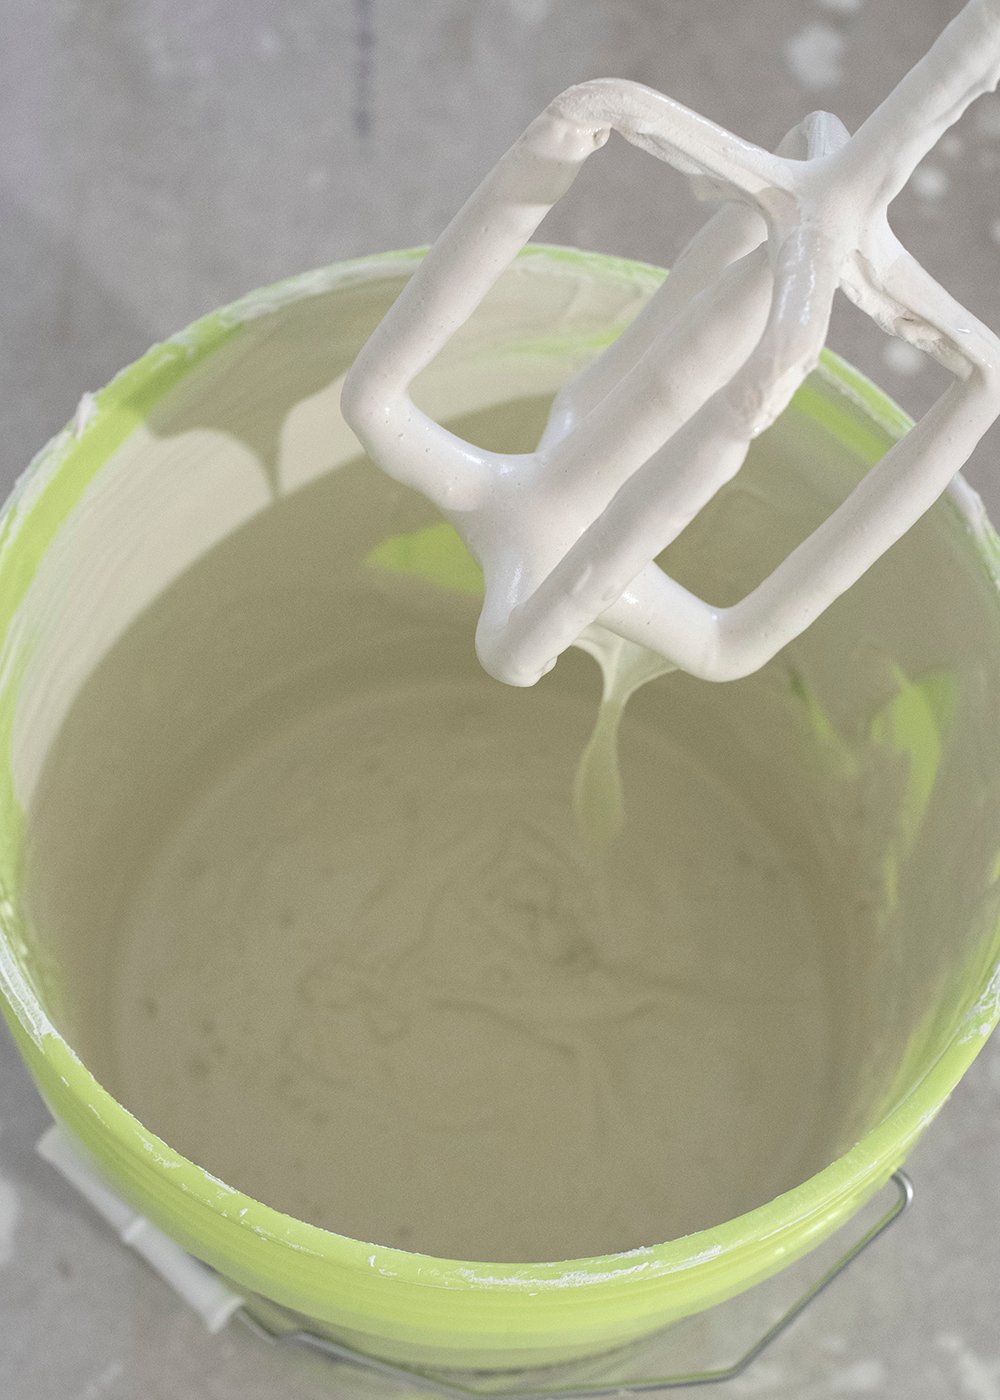
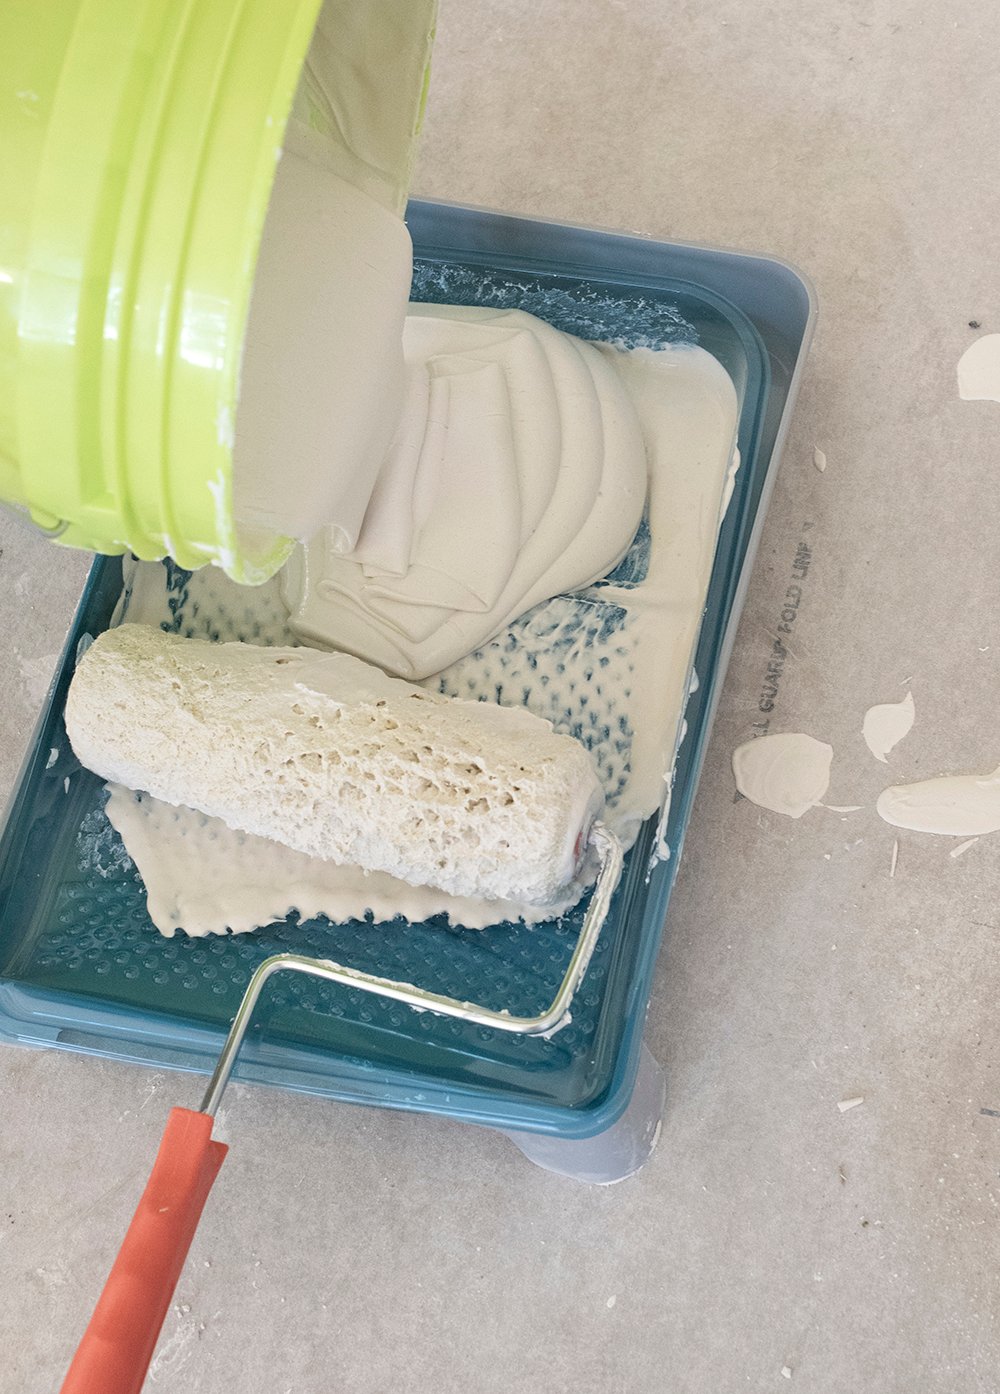
First you’ll mix your joint compound with water. I eyeball (rather than measure) the mix, but it should resemble a thick cake batter consistency. Use your mixer attachment on the power drill until it’s smooth and well combined.
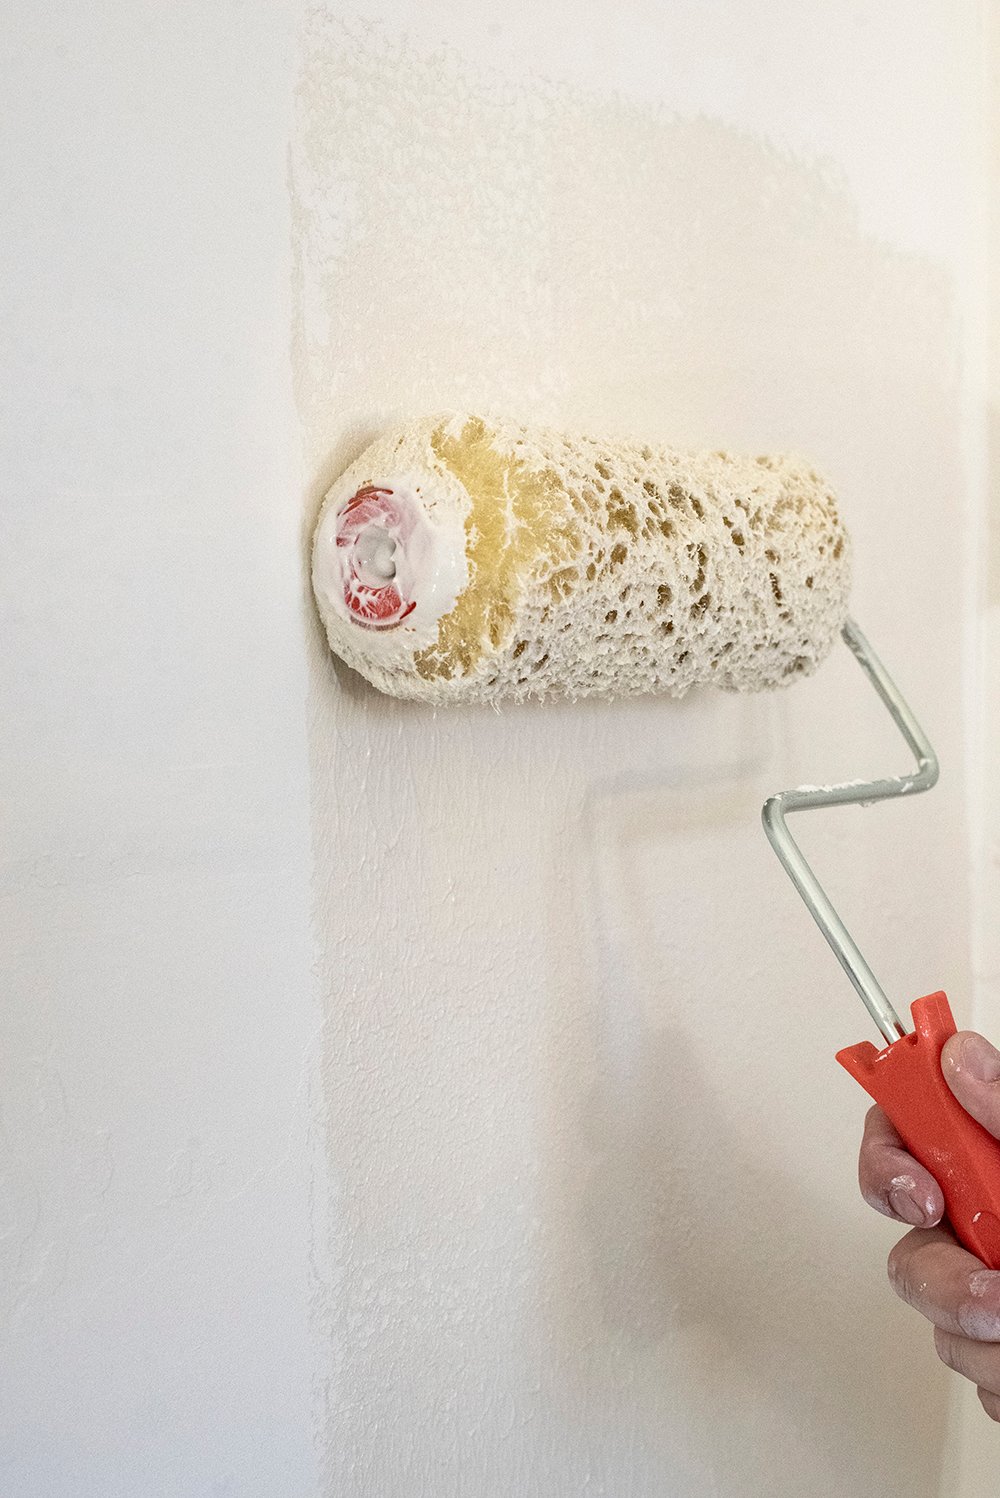
Once you get a good consistency, you’re ready to paint it onto the wall. Using the roller with the 3/4″ nap, roll a section of the wall (I work a 32″ wide section about half the wall height at a time to prevent my mud from drying out too quickly). The texture from the nap should look something like this…
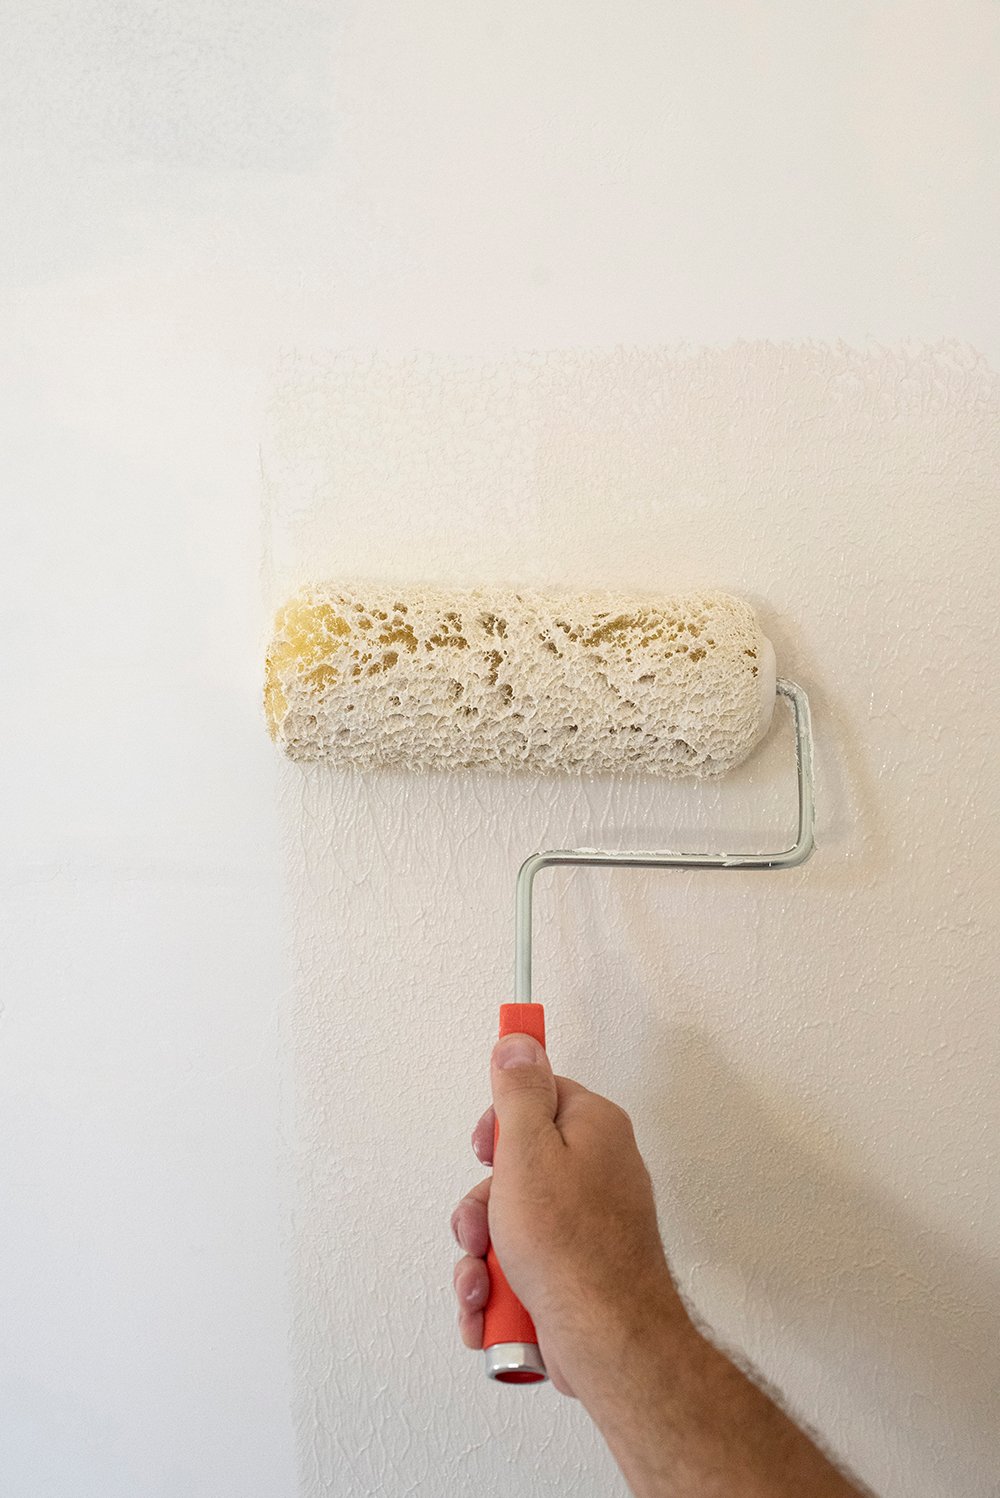
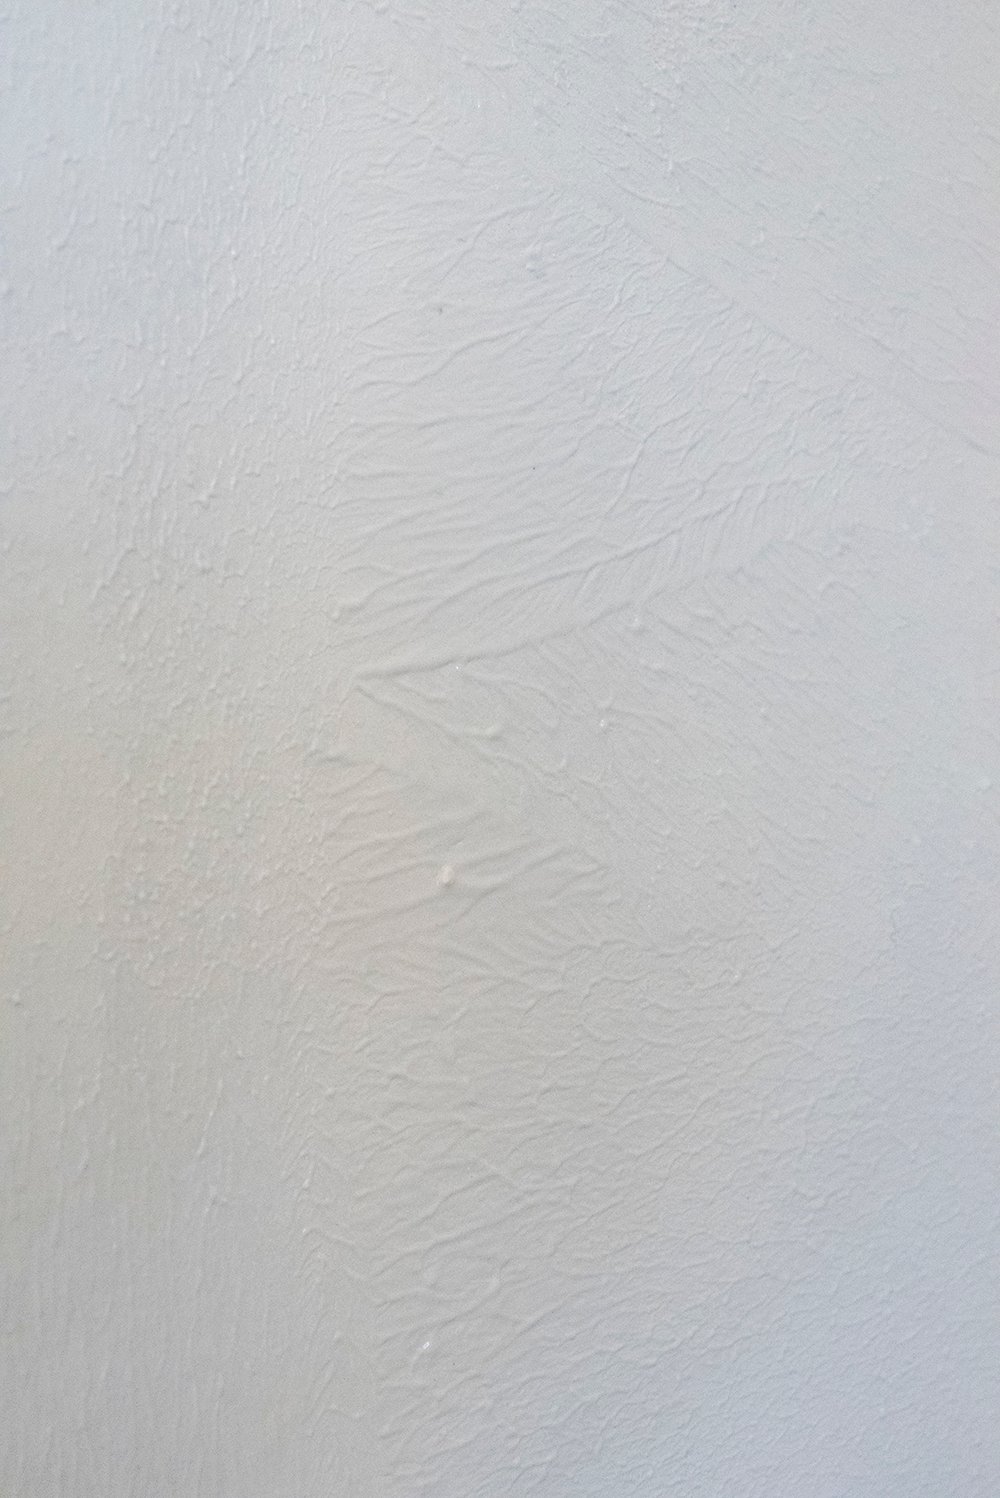
Below is a closer look at the texture the roller leaves behind. It looks kind of scary, as we’re going for perfectly smooth walls- but the key is working in thin, layered coats.
Next, grab your skim coating blade and with firm, even pressure, sweep it across the roller texture. The goal is to remove as much excess joint compound as you can. Think of this as smoothing rather than building up a material. Work in sections and think thin layers!
Hold the blade at a sharp angle and work quickly, as the mud dries out quickly. The goal is to work in long even sweeps with the blade, without lifting it from the wall. Many walls will require multiple coats. If this is the case, I try to pull my blade one direction (think up and down) for one coat, and then on the second coat I change directions (side to side). Whichever the direction- just make sure it’s a consistent, fluid motion.

Once you have one section of the wall finished, move onto the next, repeating that same process. You will want to clean your blade in between sections, as the joint compound dries quickly and a clean blade works best for that ultra smooth finish.
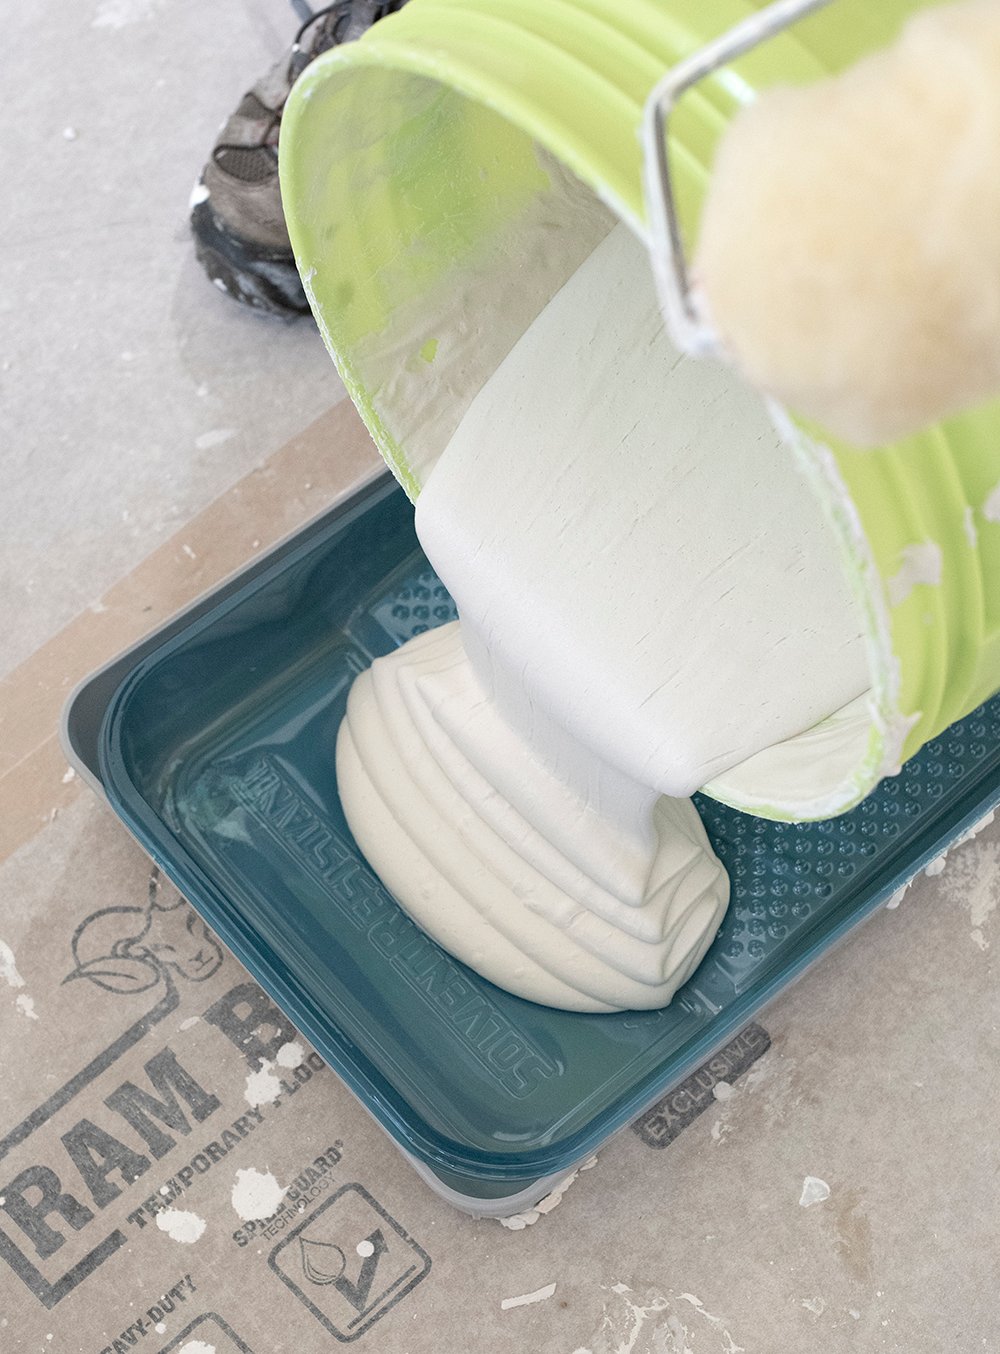
Reload your paint tray with joint compound and start on the next section. Using a bucket with a lid will keep the viscosity consistent for longer as you’re smoothing with the blade. I prefer to mix a large batch, which requires less time and cleaning.
Once the walls are totally dry, you can begin to apply additional coats. Sarah’s office walls were pretty smooth to begin with and I ended up installing three layers. One layer per day. Once the wall are done you will then have to use a corner trowel and apply a coat to the corners for a consistent finish. Give the final coat a full day to dry, then you’ll sand the drywall for that ultra smooth finish. In color, it may not look perfectly even, but as long as it’s super smooth, the primer will do the trick to even the color prior to paint. It should look something like this (don’t be alarmed by color differences)…
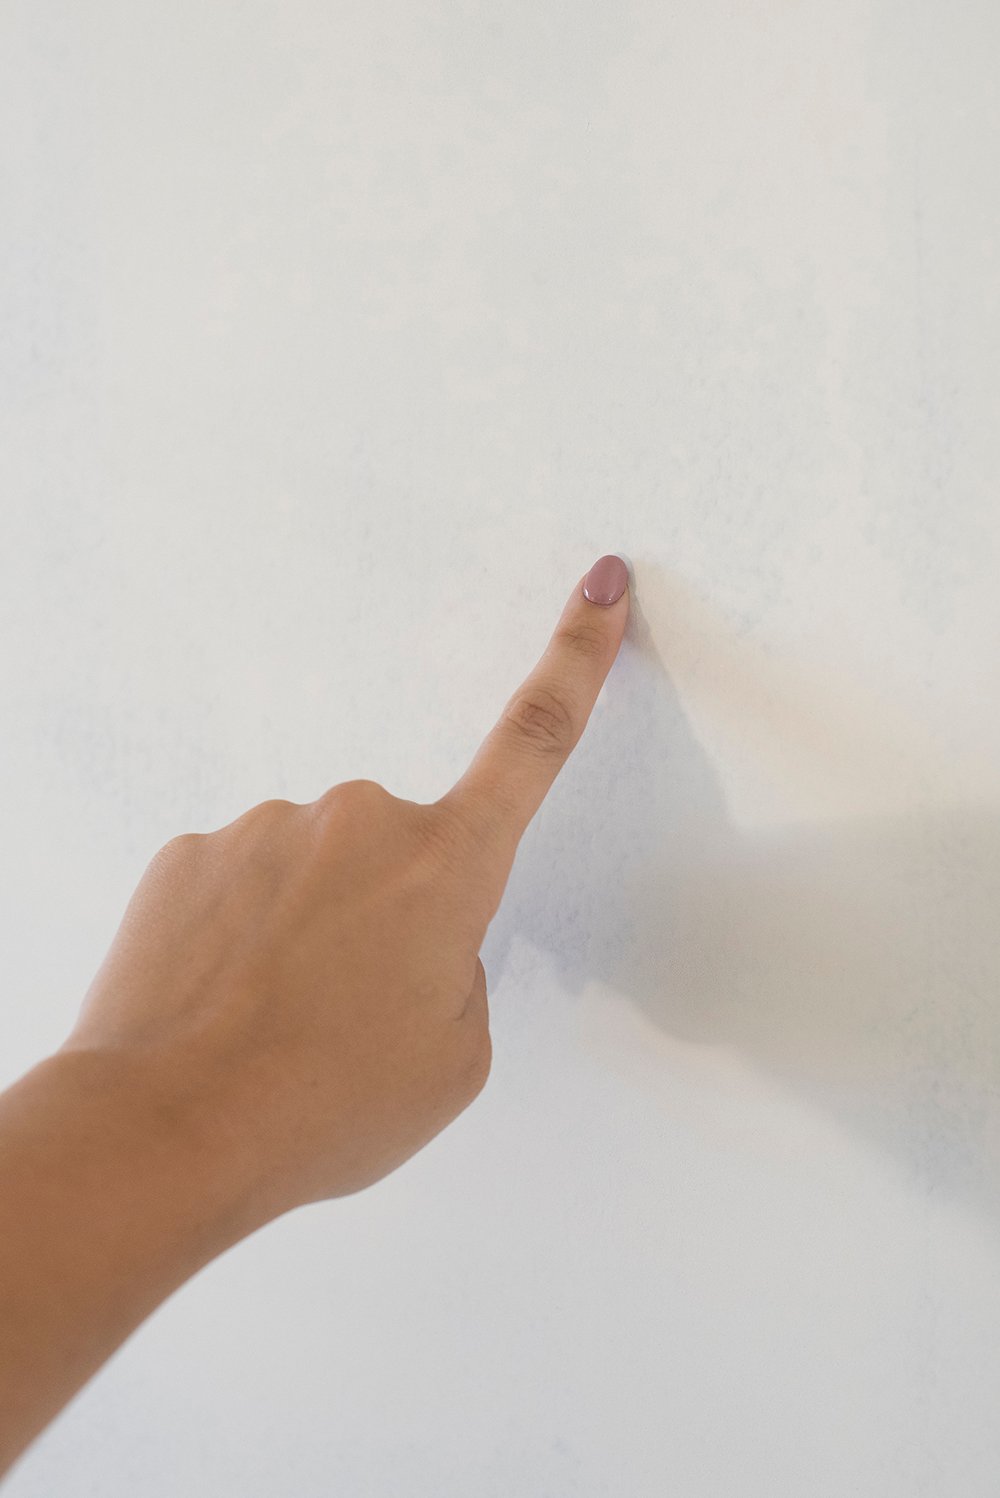
If you’re looking for a level 5 finish and are using a contractor, it is absolutely something you will need to discuss with them in advance, as it’s a premium finish and not the standard (which is level 4). It really doesn’t use a whole lot more material, however it is very labor intensive. One last thing to note is this tutorial is showing skim coating over a wall that had paint-over-wallpaper. The texture of the wallpaper as well as the seams were visible but it wasn’t in too bad of shape. Skim coating works on textured/popcorn ceilings or any walls that had years of patches and damage to them. This is our perfectly smooth and freshly skim coated wall…
I hope those tips and insight proves to be helpful for your next big project! Would you also like tips on sanding? It’s pretty self explanatory and there are lots of ways and tools to help with sanding… I think that’s just personal preference. We splurged and bought a secondhand drywall sander to make quick work of the project, knowing that 70% of our house still needs drywall work. It hooks into our shop vac which means much less dust (which is exactly how I sold Sarah on that purchase, haha). Hand sanding works just as well though! It just requires more time, with a bit more dust, and a lot more elbow grease.
Let me know if you have any questions in the comment section and I’ll get back with you sometime this week. Thanks for reading and cheering us on with the office reno… it has been a slow go, but we’re cruising along.
How to Skim Coat Walls
Lee has over two decades of hands-on experience remodeling, fixing, and improving homes, and has been providing home improvement advice for over 13 years.
:max_bytes(150000):strip_icc()/headshots_FINAL_deane-biermeier-842c201b7d0244dbb856926dd97ed720.png)
Deane Biermeier is an expert contractor with nearly 30 years of experience in all types of home repair, maintenance, and remodeling. He is a certified lead carpenter and also holds a certification from the EPA. Deane is a member of The Spruce’s Home Improvement Review Board.
:max_bytes(150000):strip_icc()/how-to-skim-coat-walls-5116693-hero-3dbd2658626d49dca2b8c72eaddba1f5.jpg)
- Working Time: 1 hr – 1 hr, 30 mins
- Total Time: 2 – 3 hrs
- Skill Level: Beginner
- Estimated Cost: $20 to $50
Over time, walls can develop surface imperfections such as shallow gouges, ripped drywall paper, or chipped paint. If you think that you will need to replace the drywall, you might be pleasantly surprised to learn that there is an easy, alternative wall fix: skim coating your walls.
What Is Skim Coating?
A skim coat is a thin layer of drywall joint compound (also known as mud) that gives walls a glass-smooth finish. It’s also called plastering a wall though you are using drywall joint compound, not plaster. The purpose of skim coating is to repair damaged walls and smooth down intentionally applied wall texture.
Some walls have a coating known as orange peel or knock-down texture. Some homeowners may want smooth walls instead of textured walls. Skim coating is an easy, low-mess alternative to chipping away the texture material.
There are advantages and disadvantages to skimming walls. It costs less than alternatives like replacing drywall, removing texture, or adding paneling. But it’s laborious and if you’re a beginner, it helps to know that you need patience to get the skimming just right for that coveted seamless look.
Skim Coat Application Methods
Paint Roller
Rolling drywall compound onto the surface with a paint roller cover and frame is a popular way to apply the product. The drywall compound goes on quickly, and clean-up is easy.
Drywall Knife
The drywall knife, which is always used to smooth down the drywall compound for skim coating, can also be used in earlier steps to apply the compound to the surface. This offers the advantage of keeping your tool purchases to a minimum. The downside is that the application is laborious and slow.
Texture Sprayer
The fastest and most effortless way to apply drywall compound to the wall is with a sprayer. You cannot use an ordinary paint sprayer—you will need to rent a texture sprayer. After spraying on the drywall compound, it is finished in the same way as roller or drywall knife application—follow steps 4 to 6 below.
Before You Begin
Preparation for skim coating is essential for a smooth result. That means you will need to prime the wall before skim coating. Priming will also seal any loose paper on the drywall that you’re covering. Apply one to two thin coats of appropriate primer to the wall and wait until it is thoroughly dry to begin skimming.
What You’ll Need
Equipment / Tools
- 12-inch drywall knife
- Drywall mud pan
- 9-inch paint roller cover
- Paint roller frame
- Paint roller extension pole, 4- to 8-foot range
- Fine-grit drywall sanding screen
- 5-gallon bucket
- Paint rolling screen for the bucket
Materials
- Lightweight all-purpose drywall compound
- Clean water
- Painter’s tape
Instructions
:max_bytes(150000):strip_icc()/how-to-skim-coat-walls-5116693-07-84d0fbf9b4fe4681823f7fa20b4e1e53.jpg)
Prepare the Work Area
:max_bytes(150000):strip_icc()/how-to-skim-coat-walls-5116693-01-765541c2ad664ecd86a0d7029c19d6d5.jpg)
Cover up areas that will not be skim-coated. Shut off electrical circuits to outlets and light switches. Remove faceplates and then cover the outlets or light switches with painter’s tape. Lay down drop cloths and tape them up to the wall baseboard.
Mix the Drywall Compound
Use a light-body drywall compound. Since the compound serves almost no structural purpose, heavy body compound is not necessary. Plus, lightweight mud is easier to sand smooth. Mix the drywall compound according to the mix ratio on the product instructions. Often, it’s better to short the water slightly to produce a heavier, stickier product. This gives the skim coat greater strength, plus it’s cleaner to apply. Mix to a stiff, yogurt-like consistency.
Tip
When mixing drywall compound, determine the amount of water needed according to the manufacturer’s instructions on the product. Put slightly less water than needed in a mixing container or bucket and add compound to the water. After mixing, add the remaining water if needed. Adding the compound to the water is better for achieving a lump-free mixture than adding all the water to the compound at once.
:max_bytes(150000):strip_icc()/how-to-skim-coat-walls-5116693-02-5d3766789bb245209a4970ff3c64002a.jpg)
Roll Out the Drywall Compound
:max_bytes(150000):strip_icc()/how-to-skim-coat-walls-5116693-03-384f90c574da4ffd9768a868cbf27d37.jpg)
Roll out a section about 2 feet wide by 8 feet high. Press the roller firmly into the wall to force out bubbles. Working time depends on the amount of drywall compound deposited on the wall, room temperature, and airflow. It’s always better to maintain smaller working zones so that the drywall compound does not dry up on you. Be sure to keep the drywall compound consistent across the surface. Even though the drywall compound does get scraped off, inconsistent compound dries at different rates, so the process will be easier if you do a consistent application.
Skim the First Section
Skim out the drywall compound with the 12-inch knife. Scrape either upward or downward in columns, applying slightly more pressure to the left side of the knife than the right. This eases out imperfections on the left side but leaves a low ridge on the right side.
Tip
Do not exert full force with the knife because you will end up scraping off too much drywall compound, and you risk gouging the wall with the corners of the drywall knife. Deposit excess in the tray.
:max_bytes(150000):strip_icc()/how-to-skim-coat-walls-5116693-04-c2f4c2c7ddc549ad8b4673d66f3ce394.jpg)
Skim the Rest of the Sections
:max_bytes(150000):strip_icc()/how-to-skim-coat-walls-5116693-05-3ee8355ced5d4b2f88ec9be41cc03ad9.jpg)
Make a second pass adjacent to the first column. Again, favor pressure on the left side. This eliminates the ridge on the left. Overlapping ensures that most of the ridges are taken care of by the drywall knife. This leaves less drywall sanding for later.
Sand the Dried Skim Coat
:max_bytes(150000):strip_icc()/how-to-skim-coat-walls-5116693-06-06945b91356c4c568bcdd0b22507544f.jpg)
Allow the skim coat to dry. It should dry within an hour or two. Finish with a light sanding with fine-grit drywall sandpaper.
Wall Skim Coat Troubleshooting
Drywall Compound Is Hard to See on the Wall
Set up a work light on the floor to cast a low-angled beam on the skim coat surface. This helps to identify high and low spots.
The Roller Slides on the Wall or Gums Up
When the roller slides, this means that the roller is stuck and is not turning. Knock off the roller cover, run water over the roller frame to clean it off, then replace it with a new cover.
Drywall Compound Is Not Sticking to the Wall
The compound may be mixed too thinly. Add a little more dry mixture and mix again to stiffen up the product. Also, walls painted in high gloss paint may not hold the drywall compound well. These walls should be lightly sanded before skim coating.
If you want a flawed wall to have a smooth, seamless appearance, skim coating is well worth the time and effort as it will instantly refresh a room. In addition to fixing some damages on drywall, skim coating walls can be used to fix problems left from wallpaper removal. Oftentimes living spaces, like dining rooms, are skim coated.
Yes, you should paint after skim coating a wall. The skim coating is fragile and can be easily damaged if left unfinished. Priming and painting the skimmed wall will protect its flawless beauty. Wait until the skim coating has fully dried. Refer to the drywall compound’s instructions to find drying times.