How to Whitewash Brick: Interior and Exterior
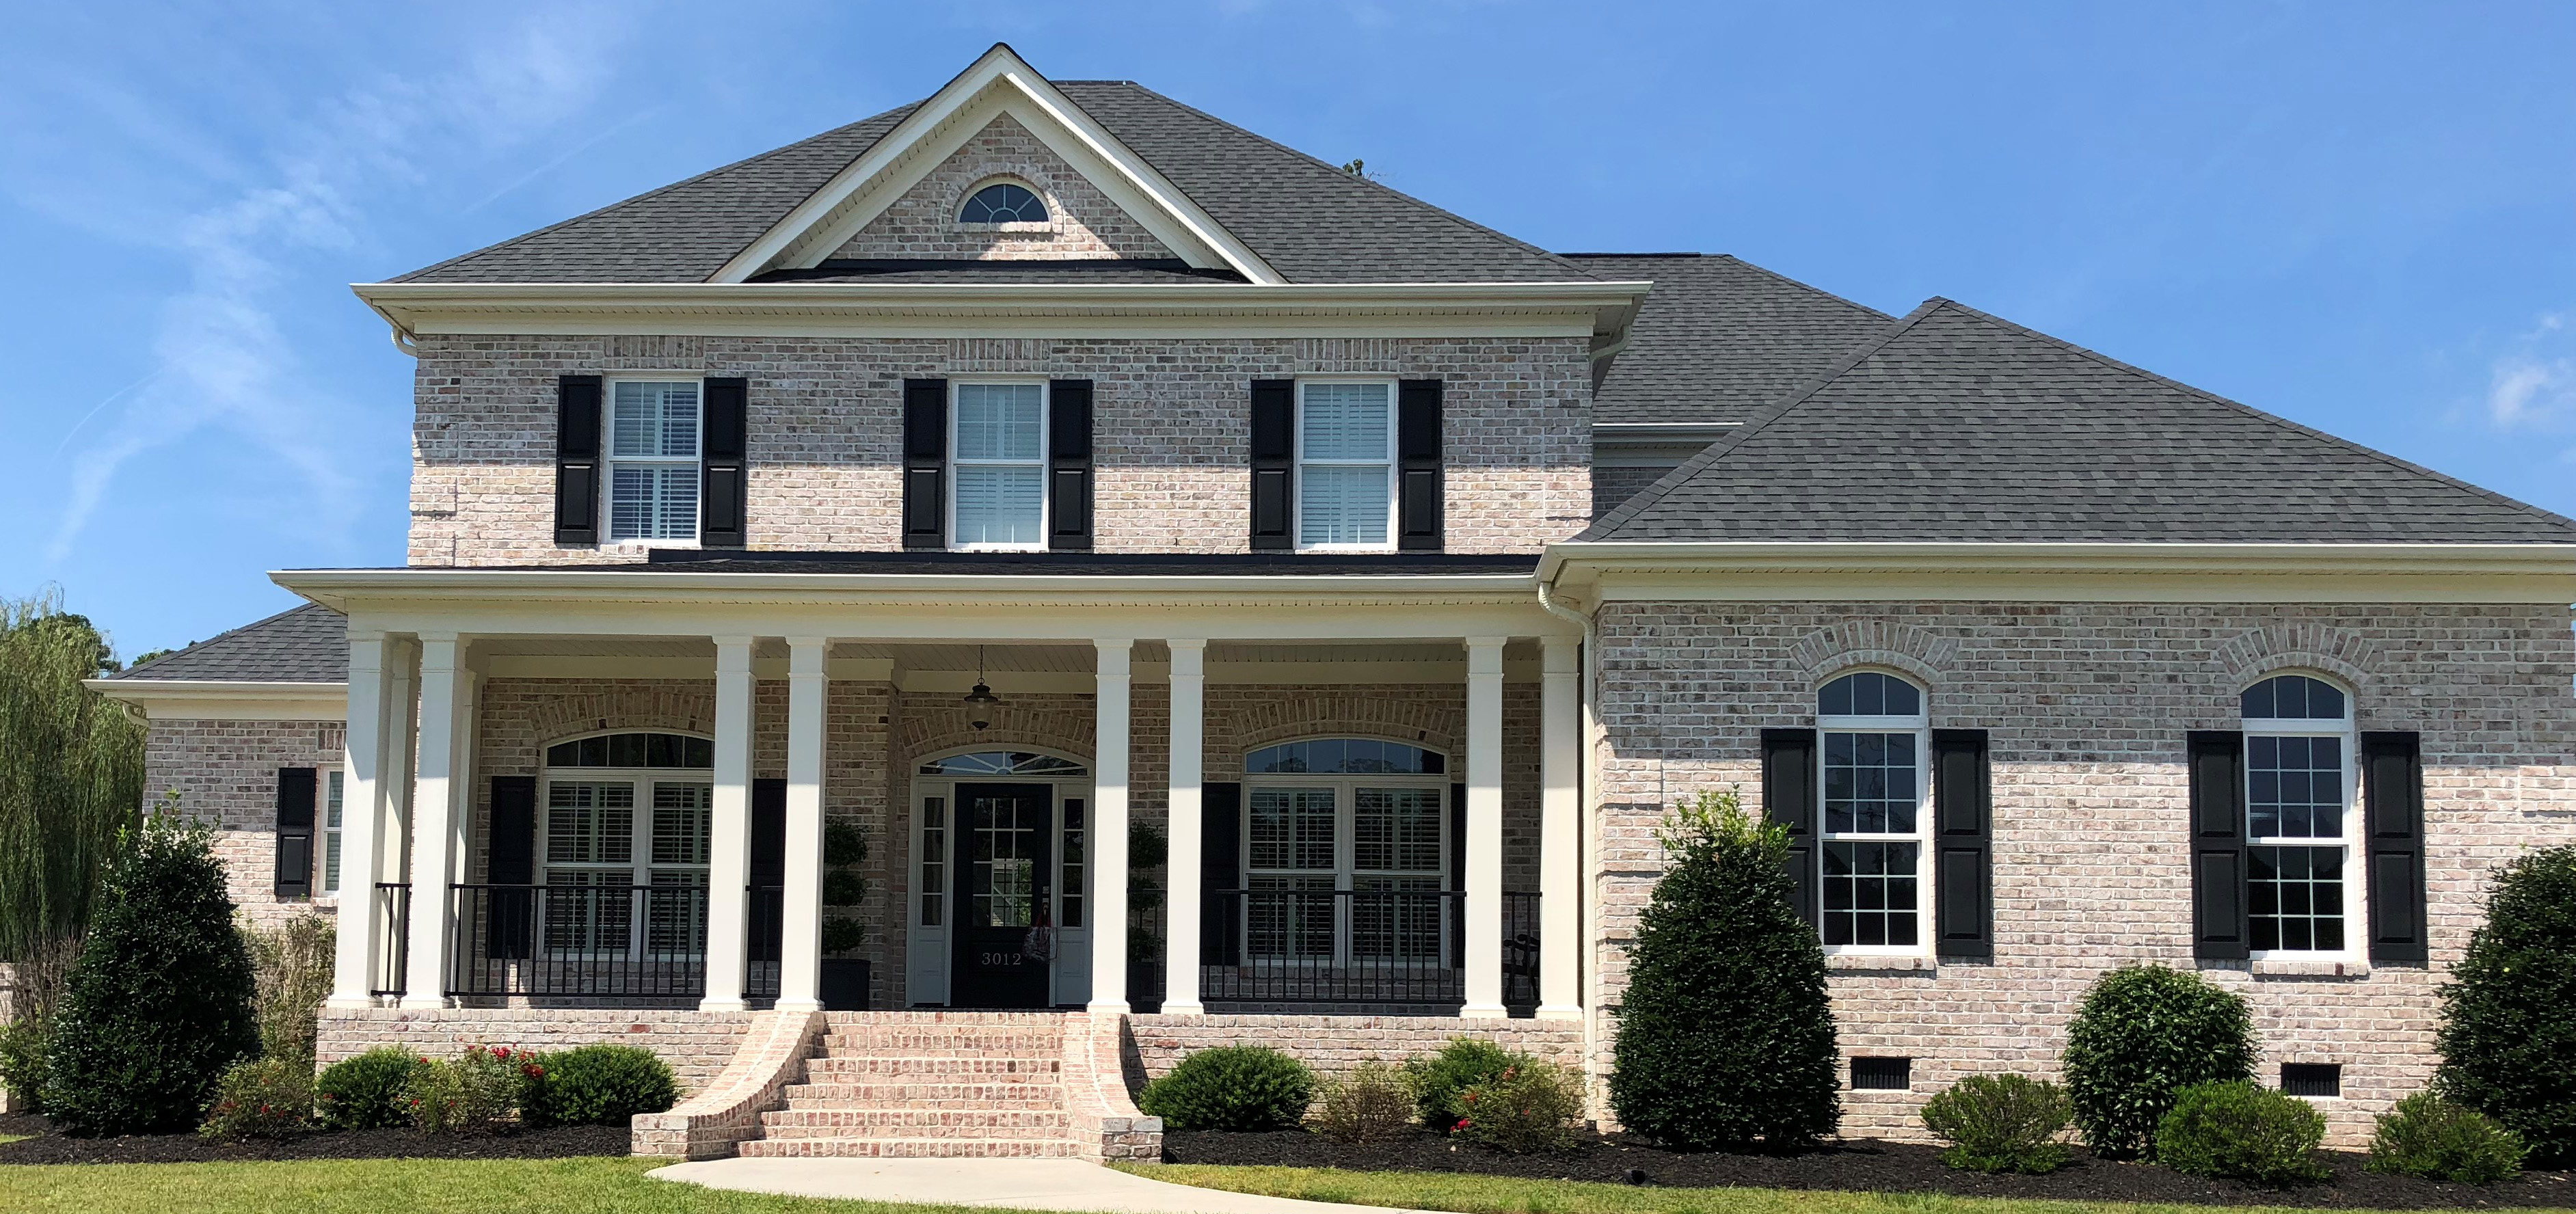
Washed White | Engineer Size | White Mortar | Merry Oaks Plant
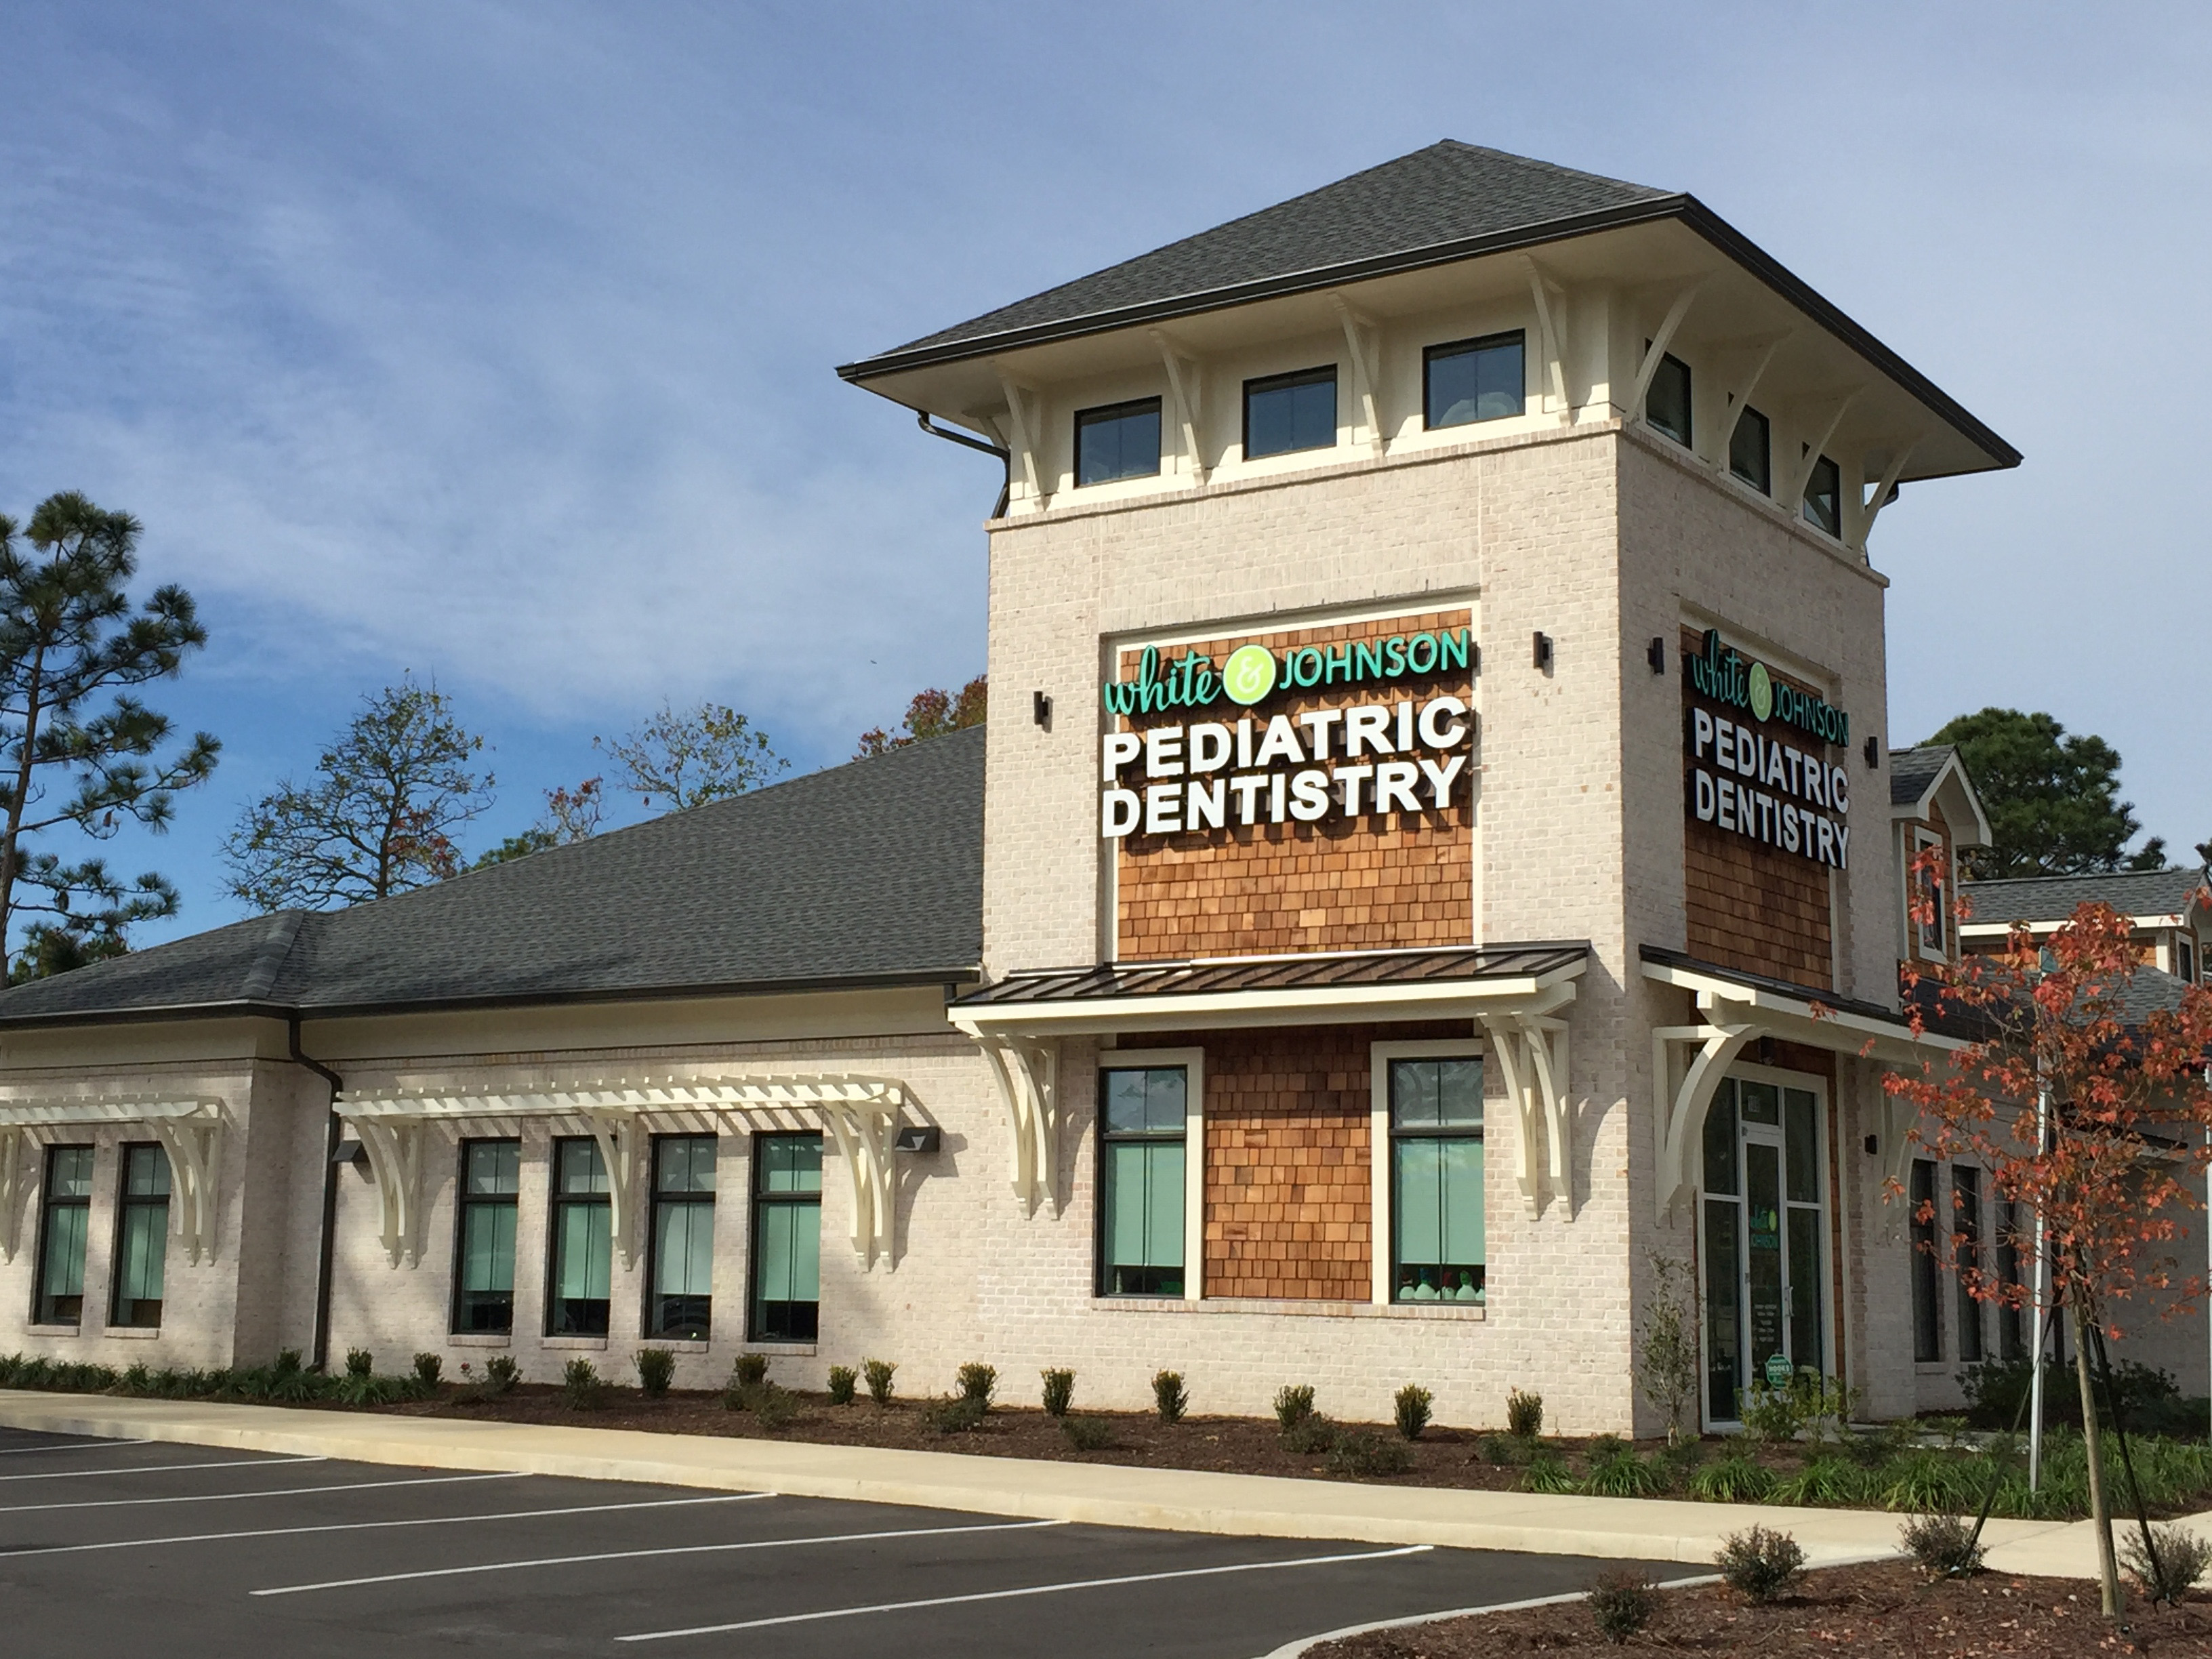
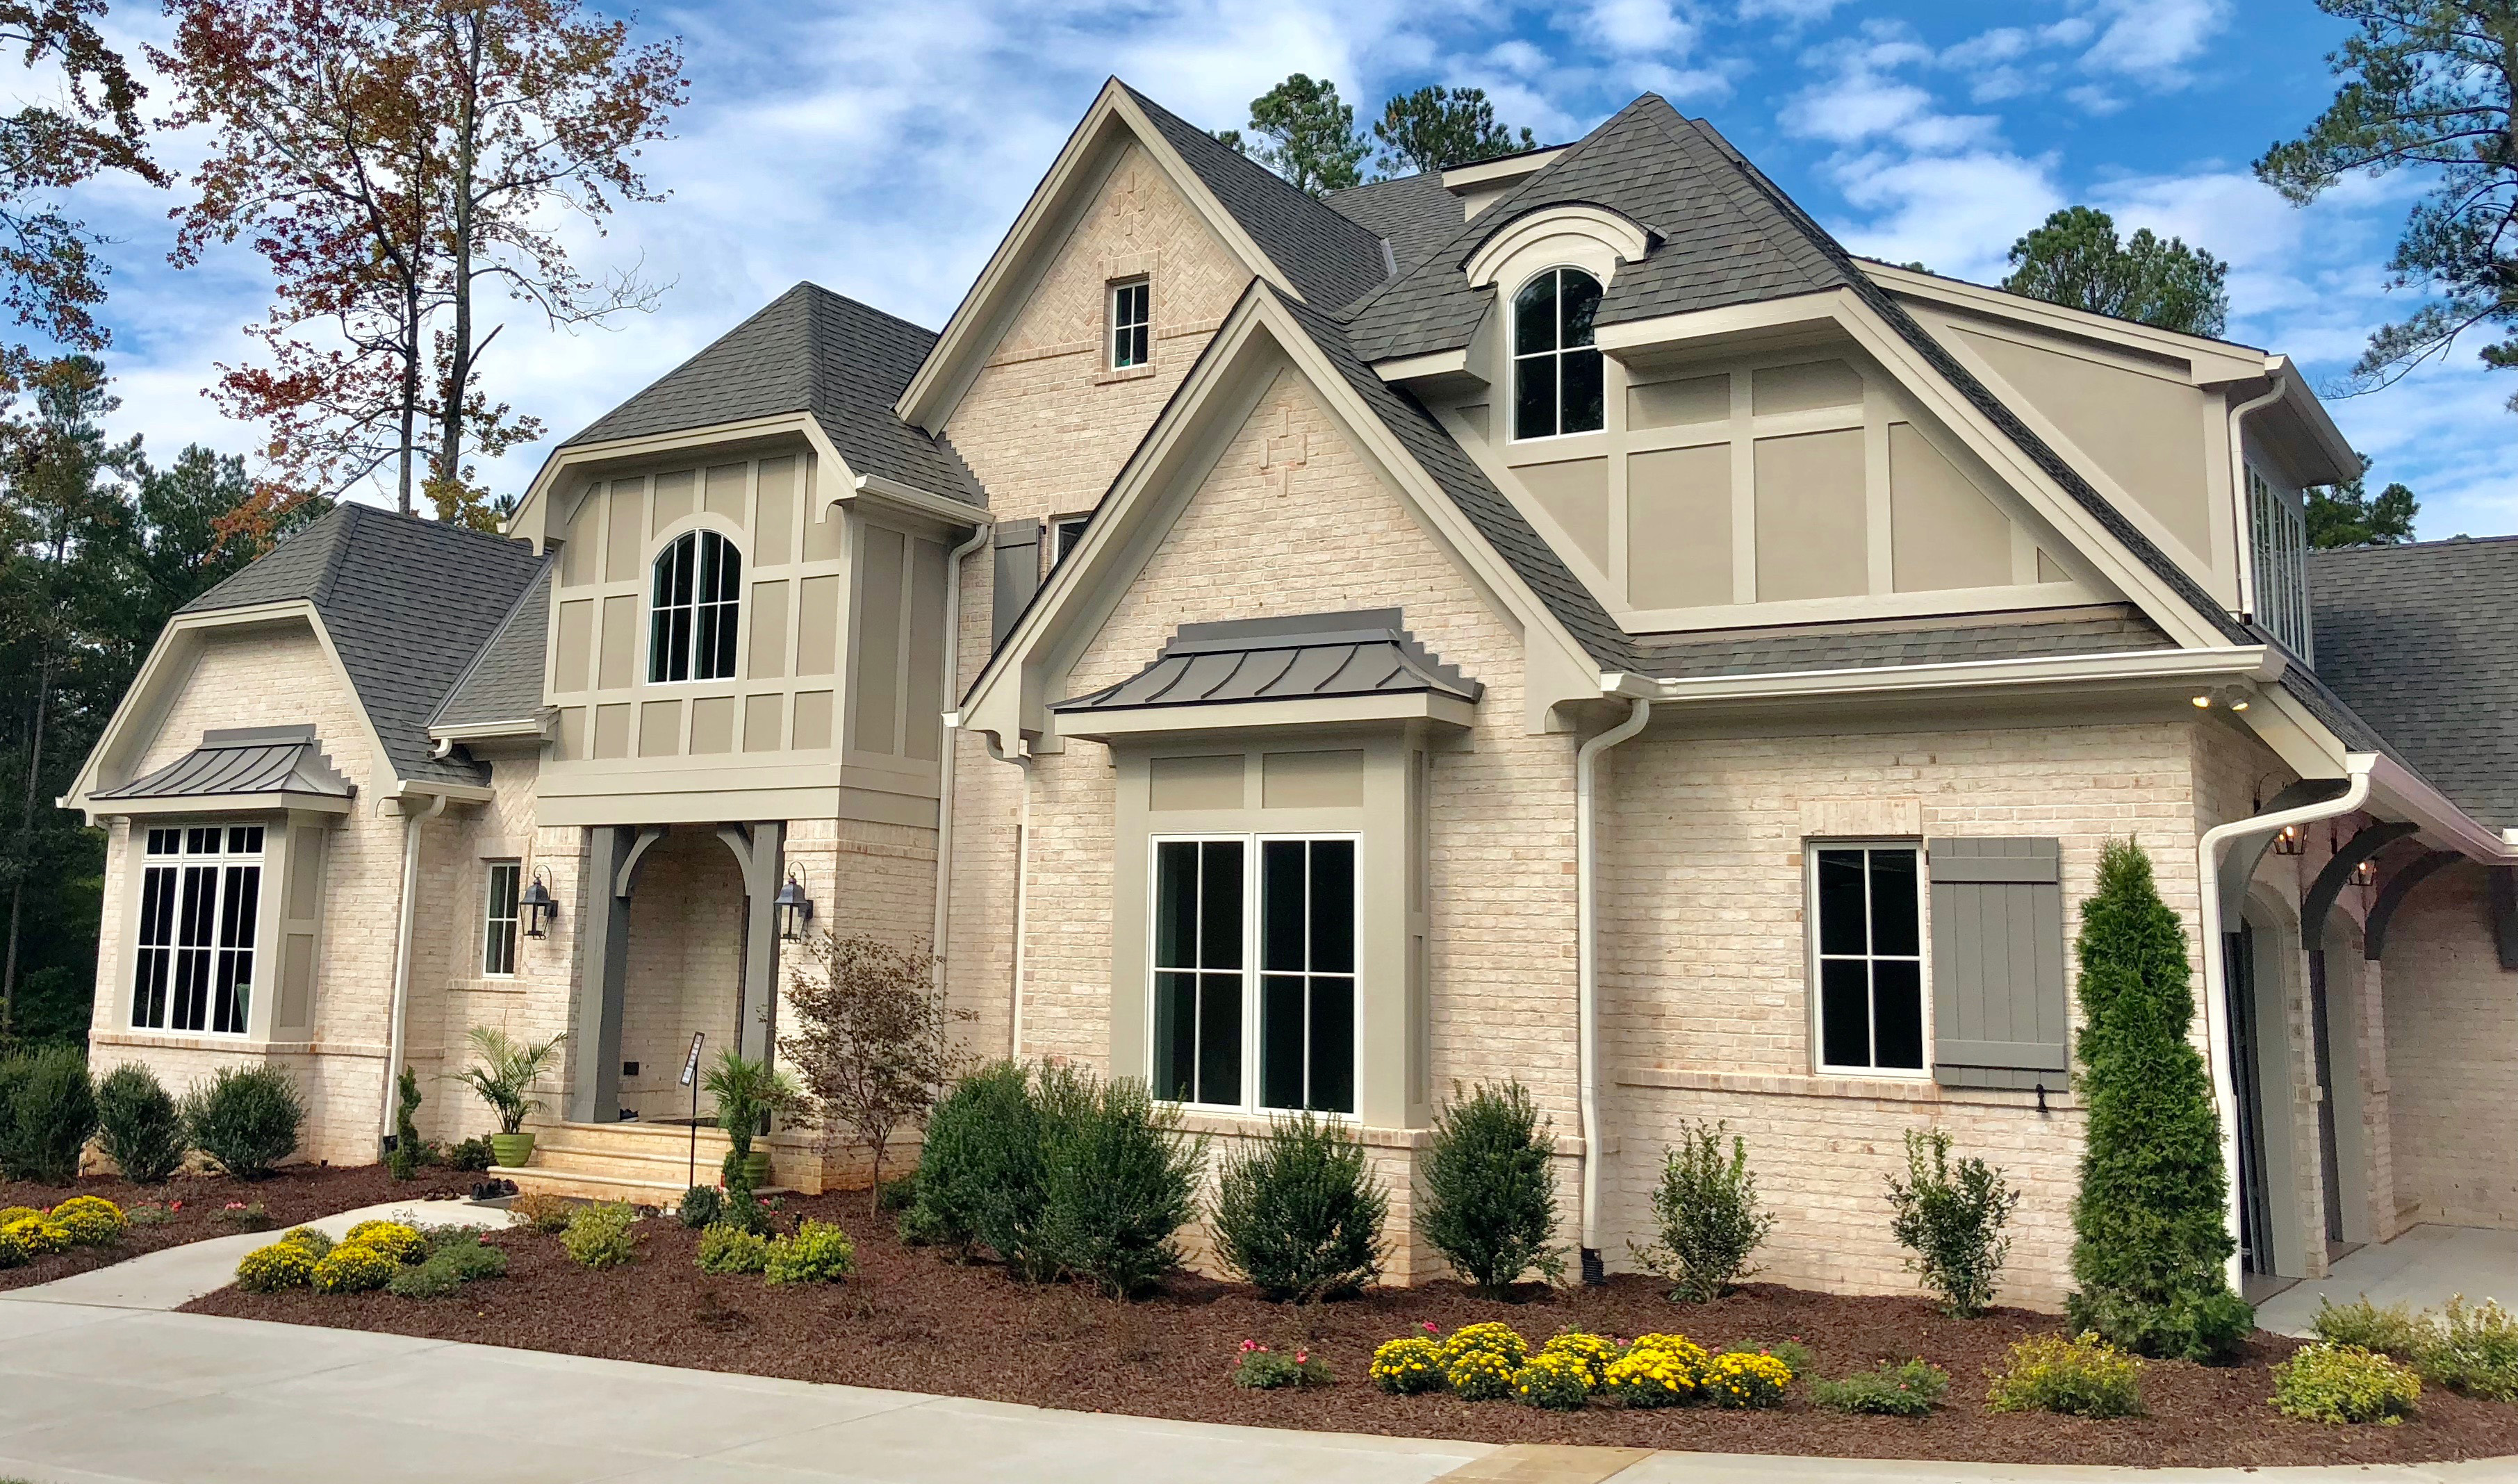
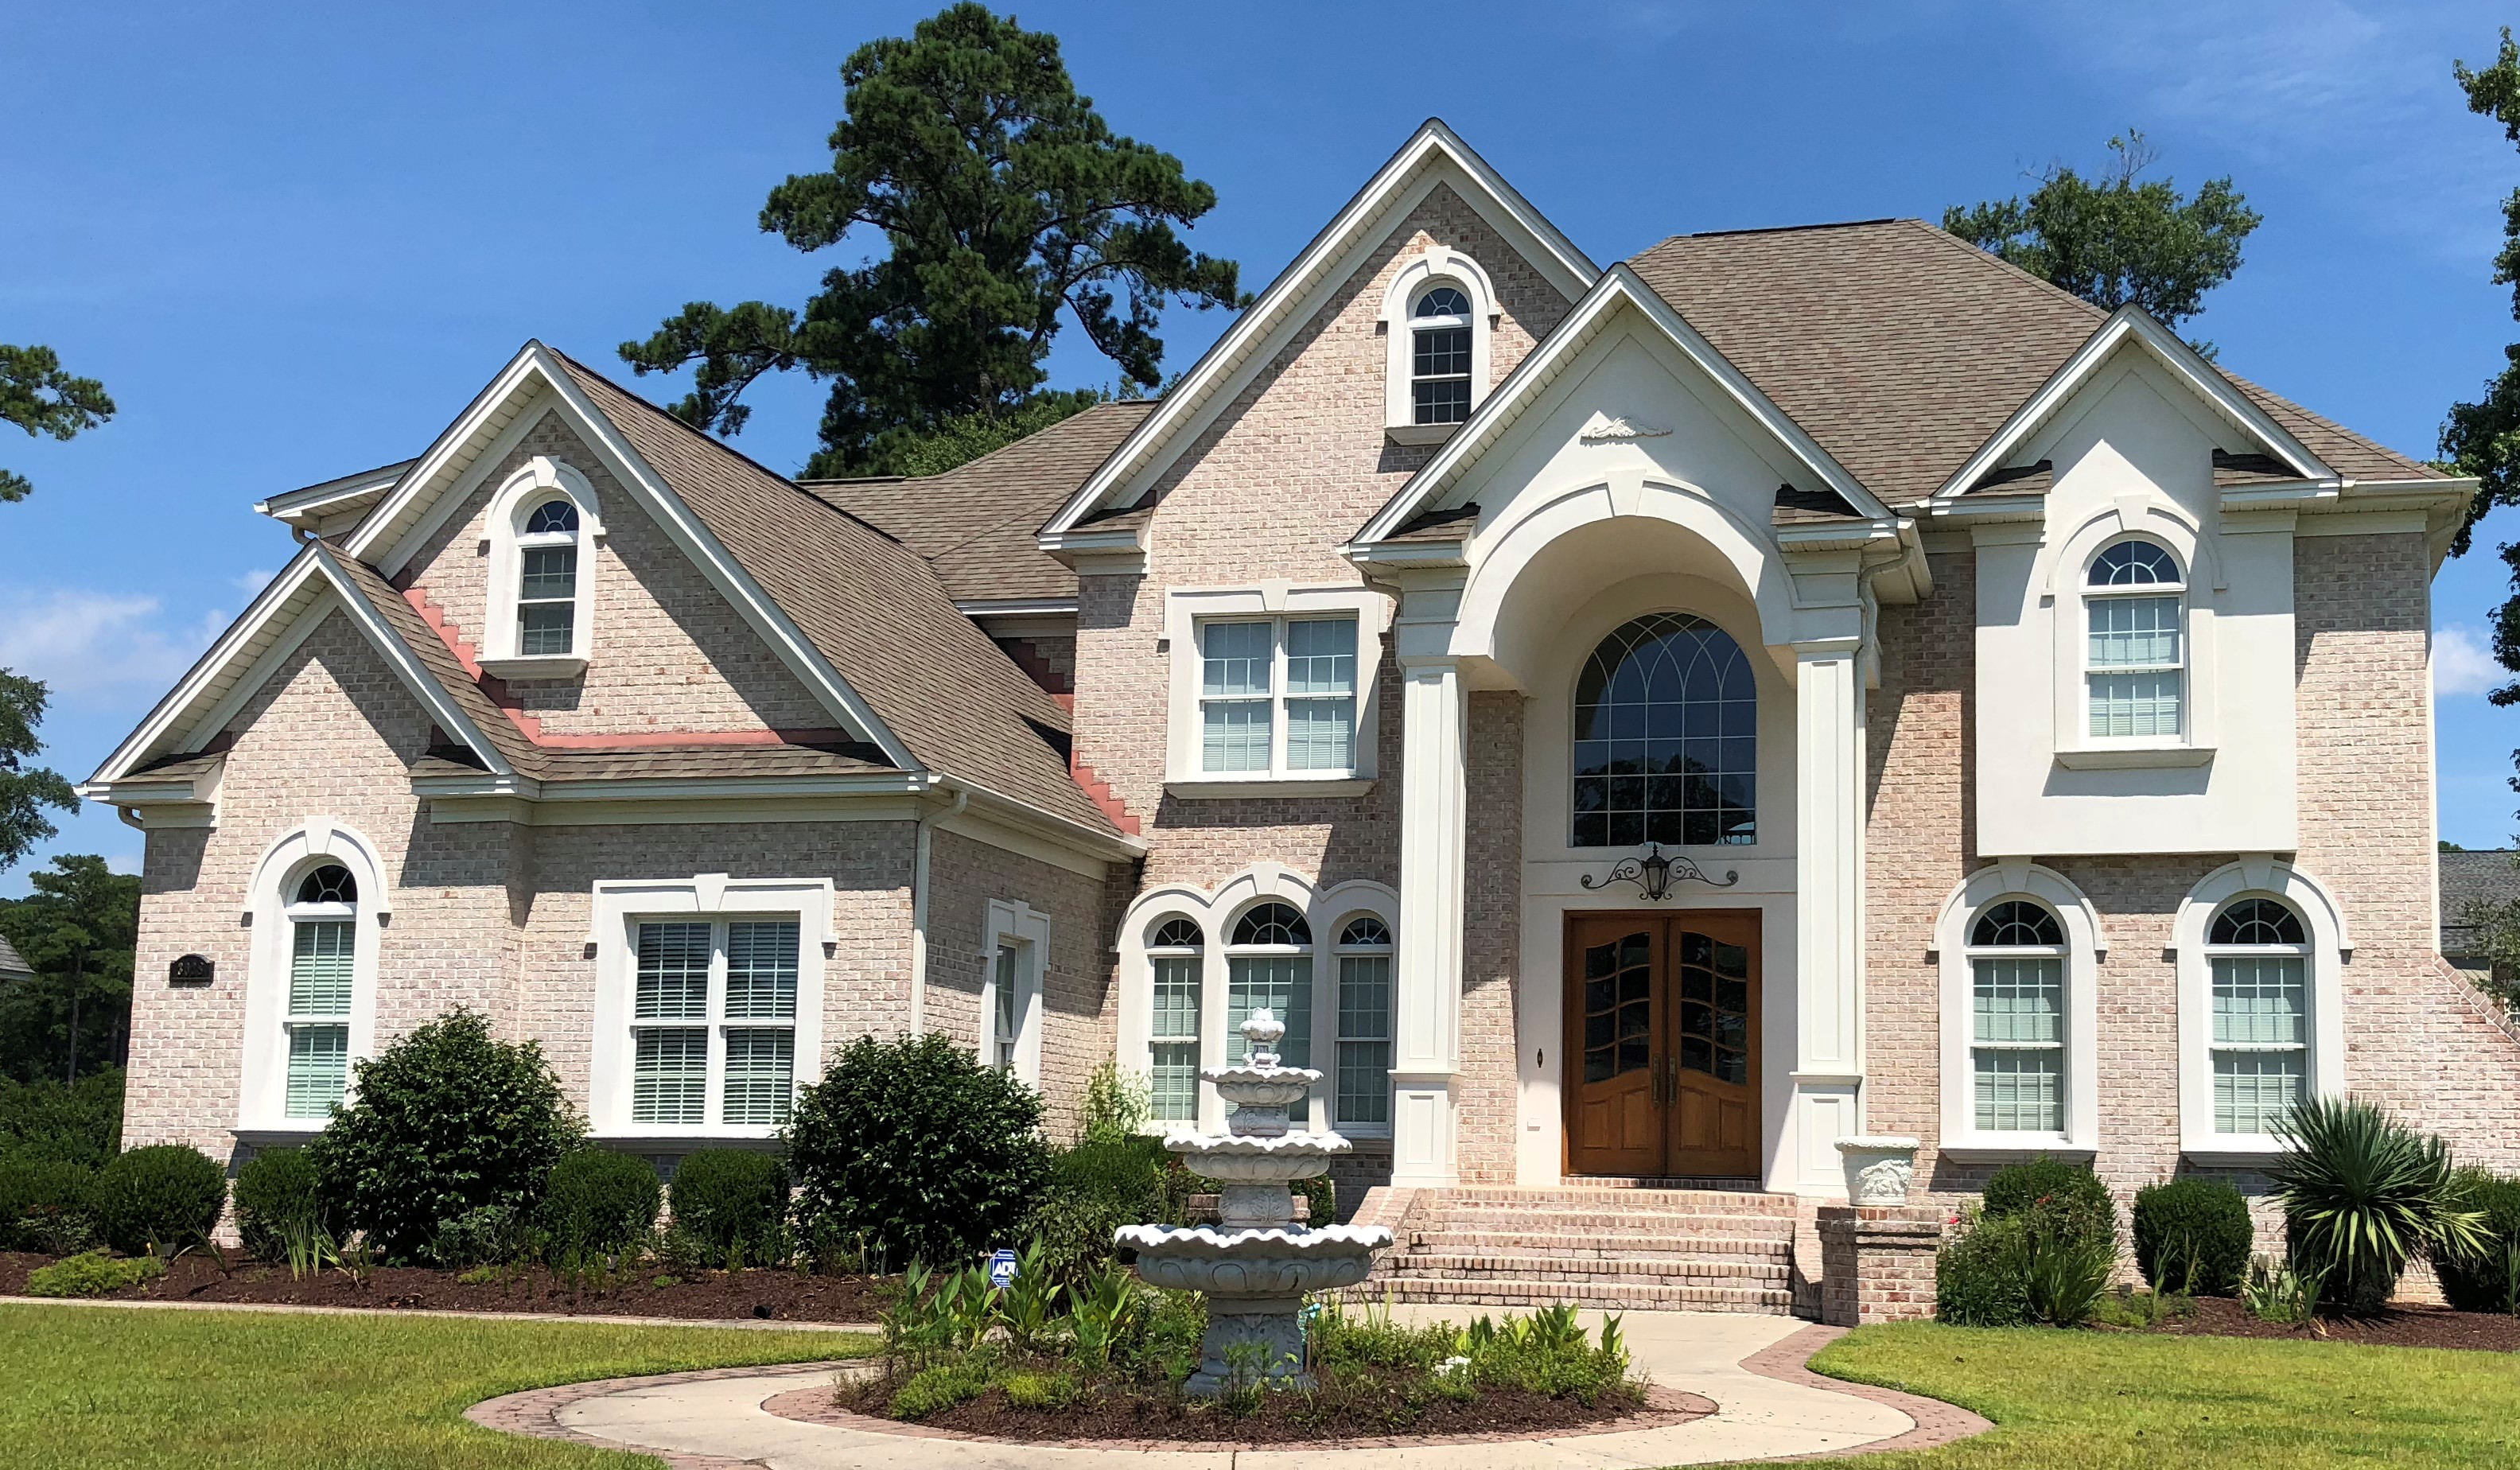
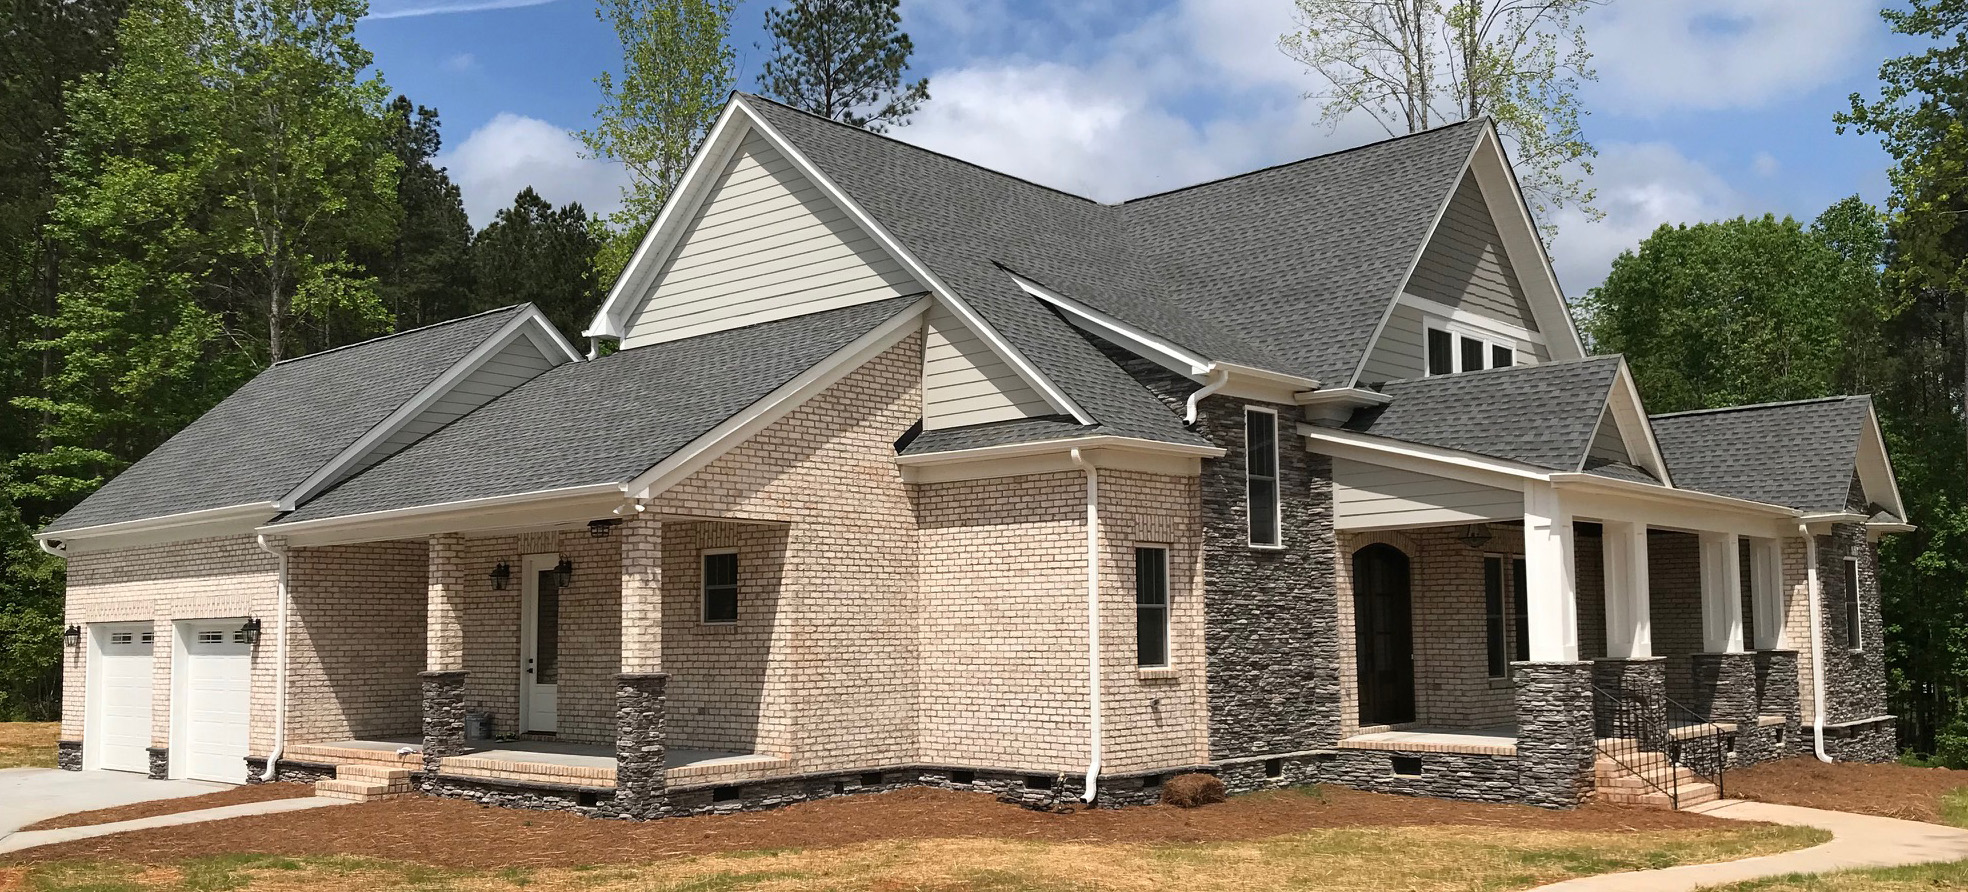
Washed White

Subtle red undertones and a white wash treatment offer a weathered look to Triangle Brick Company’s Washed White brick, giving it the appearance of painted brick that’s been beautifully faded over time by the sun, sand and ocean spray. This tumble washed brick provides our customers with an unparalleled level of quality and detail. The Washed White brick is popular among both our residential and commercial customers.
Brick Image: Engineer Size | White Mortar | Merry Oaks
Washed White | Engineer Size | White Mortar | Merry Oaks Plant
Washed White | Engineer Size | White Mortar | Merry Oaks Plant
Washed White | Engineer Size | White Mortar | Merry Oaks Plant
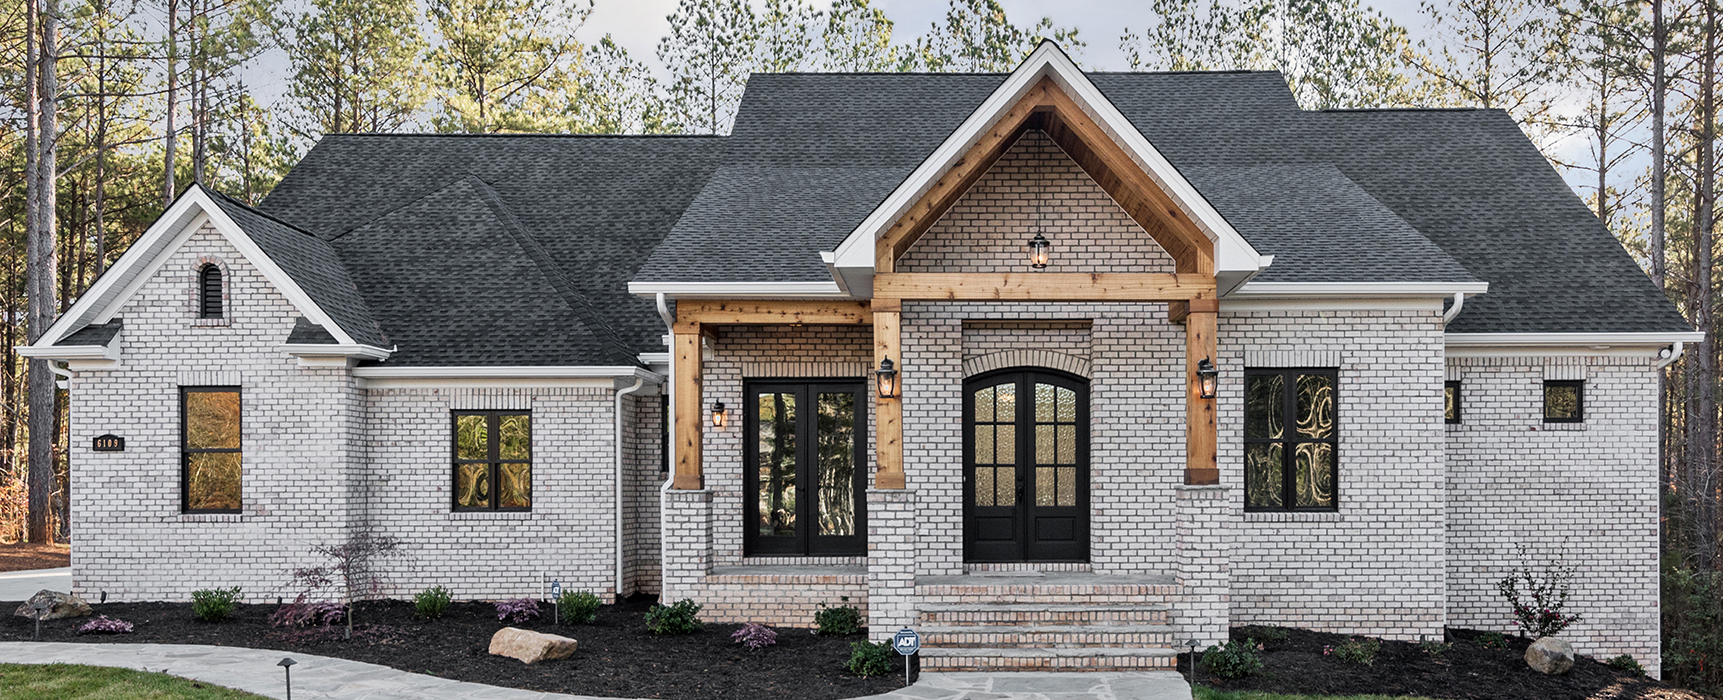
Washed White | Queen Size | Gray Mortar | Merry Oaks Plant
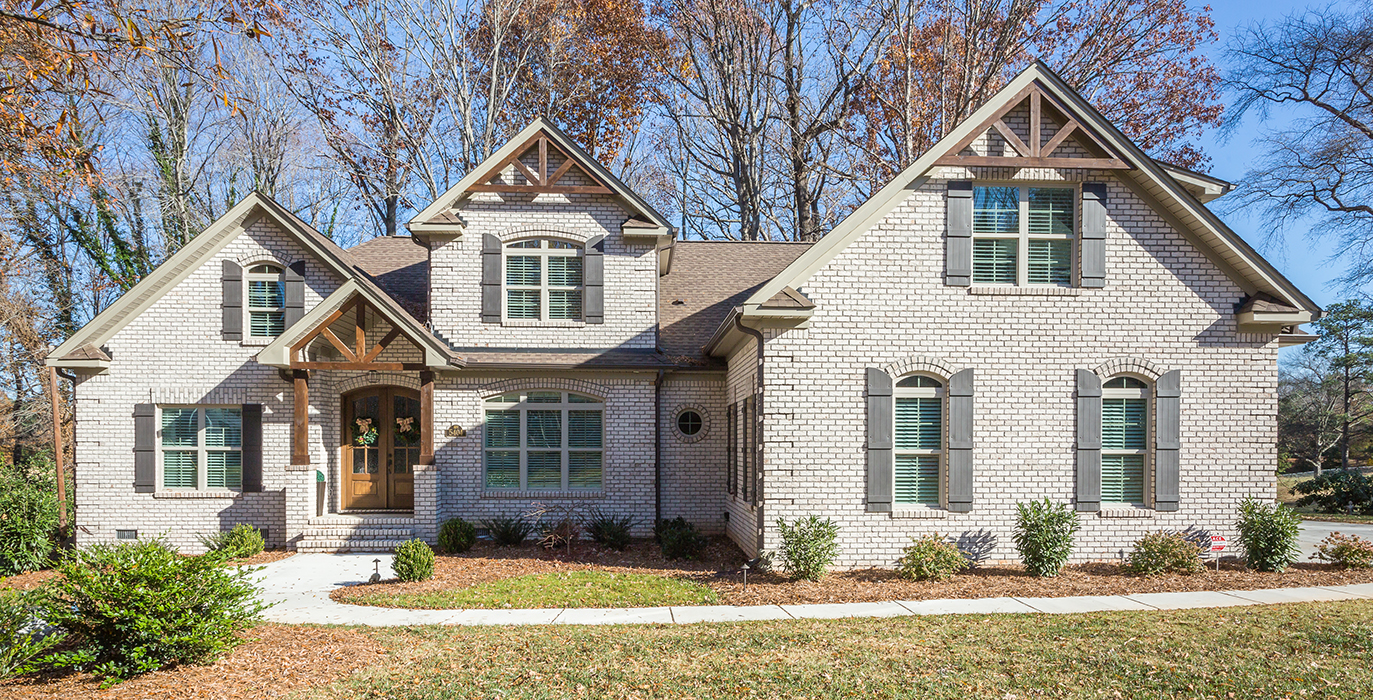
Washed White | Engineer Size | White Mortar | Merry Oaks Plant
Washed White | Engineer Size | White Mortar | Merry Oaks Plant
Washed White | Engineer Size | White Mortar | Merry Oaks Plant
Washed White | Queen Size | Gray Mortar | Merry Oaks Plant
How to Whitewash Brick: Interior and Exterior
:max_bytes(150000):strip_icc()/headshots_FINAL_lee-wallender-739d21a7b6ed4aa1b895c684e193494c.png)
Lee has over two decades of hands-on experience remodeling, fixing, and improving homes, and has been providing home improvement advice for over 13 years.
:max_bytes(150000):strip_icc()/headshots_FINAL_deane-biermeier-842c201b7d0244dbb856926dd97ed720.png)
Deane Biermeier is an expert contractor with nearly 30 years of experience in all types of home repair, maintenance, and remodeling. He is a certified lead carpenter and also holds a certification from the EPA. Deane is a member of The Spruce’s Home Improvement Review Board.
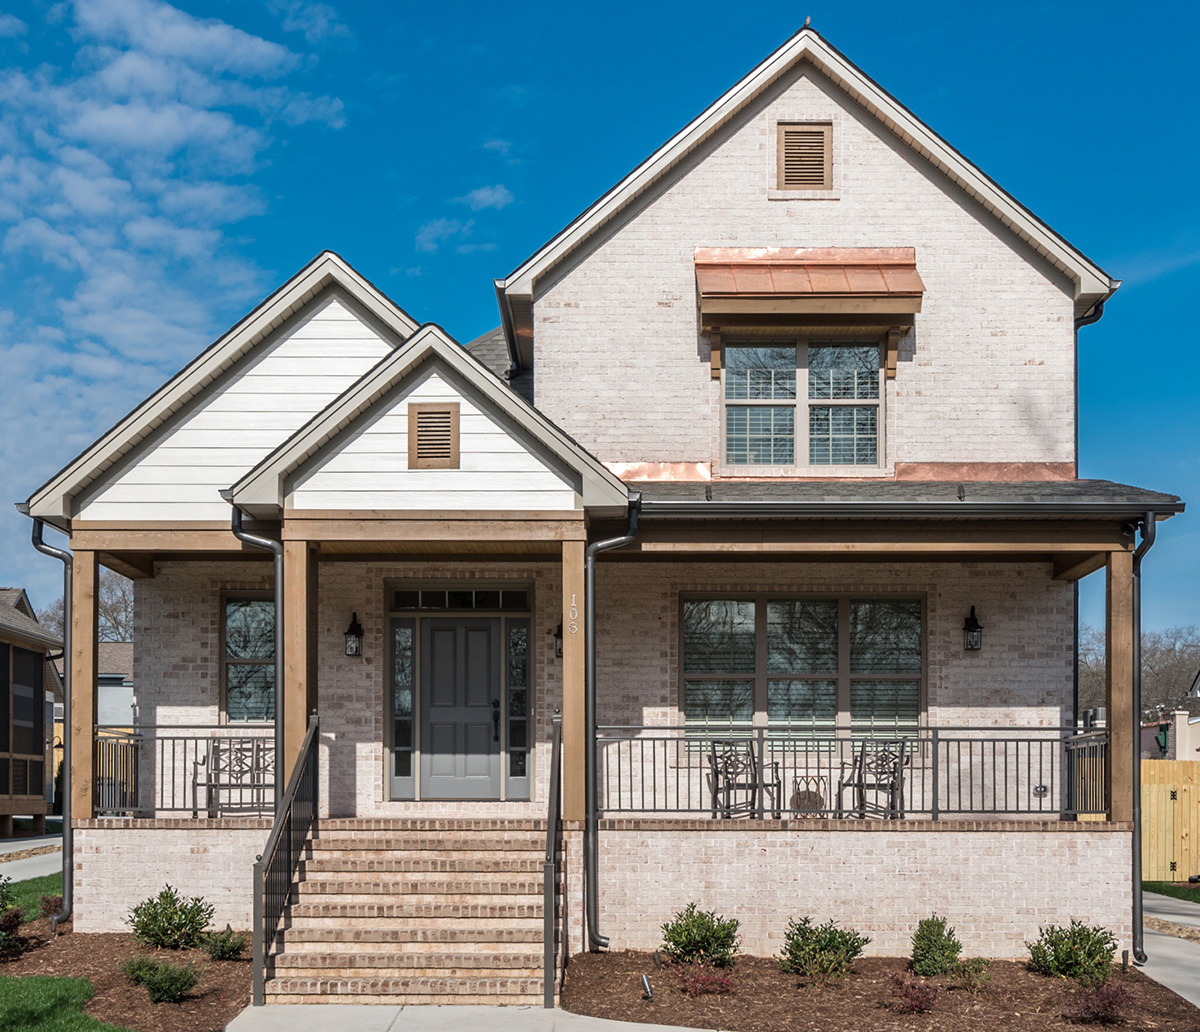
:max_bytes(150000):strip_icc()/WhitewashedBrick-3533334e890c46598a16e8309ba681dd.jpg)
- Working Time: 2 – 3 hrs
- Total Time: 2 – 3 hrs
- Skill Level: Beginner
- Estimated Cost: $40 to $80
A whitewashed brick exterior has a distinctive look from that of painting, giving whitewashed red brick an aged, weathered feel, while still preserving the texture and appeal of the natural brick. Painting, on the other hand, lends a more opaque finish which covers up imperfections in the brick to achieve a solid color.
Whitewashing’s translucent appearance first made its debut during Colonial times as a quick and inexpensive way to apply a finish made of chalked lime. Today, homeowners choose to whitewash brick, both in interior and exterior applications, to give it a muted look and to preserve the longevity of a natural brick surface.
This easy DIY project can transform the look of your space in just one coat and will save you the $0.45 to $0.80 per square foot that you’d spend to have a professional do it for you. But before you begin, make sure this is the look you want, as both limewashing and whitewashing with paint cannot be undone (and won’t come off in the rain), unless you paint over it with a solid color.
What Is Whitewashed Brick?
Traditionally, whitewashing exterior brick with a sprayer is the most popular method of application, which involves coating a brick surface with a mixture of lime and water. This mineral-based product leaves a light, chalky appearance, similar to that of dried salt.
In the projects below, we’ll teach you how to whitewash exterior brick using this method, as well as how to whitewash interior brick with gray paint. The interior method can be used to whitewash brick fireplaces while affording you more control over the final look.
Whitewashing Unpainted Brick
Whitewashing unpainted brick with thinned latex paint results in a natural finish that gives you a close-to-transparent look that’s most similar to a true lime whitewash. By thinning down white or gray paint with water (at either a 3:1 or 4:1 ratio), you allow the color and texture of the brick to show through. Generally, all of the brick, including the mortar, is covered. However, for more contrast, you can paint each brick and leave the mortar uncoated.
Whitewashing Painted Brick
Whitewashing painted brick involves a faux painting technique that creates the illusion of a whitewash on top of a brick wall or fireplace that has previously been painted white. In this application, the paint is tinted, not thinned, and a sponge, exactly the size of one brick, is used to lightly dab each brick. By leaving the mortar alone, you highlight only the pattern that was formerly hidden by paint.
What You’ll Need
Equipment / Tools
- Paint sprayer
- Garden sprayer
- 5-gallon bucket
- Drop cloth and sheet plastic
- Painter’s tape
- Nylon-bristle scrub brush
- Clean mixing cups
- Sponges
- Chip brushes
- Cotton rags
- Scissors
- Wood stirring stick
- Paint tray and liner
Materials
- Limewash solution
- 1 gallon White paint
- 1 pint Gray paint
- TSP (tri-sodium phosphate) or alternative
Instructions
Whitewashing Exterior Brick
Mask off Windows and Doors
Use painter’s tape and plastic to cover all windows, doors, and any other features you do not want to be exposed to the limewash.
Mix the Limewash Solution
Pour a 50:50 solution of limewash and water into a 5-gallon bucket. Mix it thoroughly and then load it into the paint sprayer.
Spray the Surface With Water
Load the garden sprayer with water and spray down an area of brick so that the wall is visibly wet, but not dripping. This will allow the limewash do to its job without drying too quickly.
Spray the Limewash
Spray the wet surface with one coat of limewash until the brick is no longer visible, and then wait 15 to 20 minutes.
Distress the Finish (optional)
Use the garden sprayer to water certain sections of the brick, and then wipe them with a cloth to expose more or less brick in sections. Distressing can be achieved two to five days after the initial application, and before the finish is fully cured.
Whitewashing Interior Unpainted Brick
Tarp and Tape Off Areas
With the painter’s tape and plastic, tape off any areas that will not be whitewashed. Lay tarp on the flooring.
Clean Brick
Mix the TSP in a clean bucket with warm water. With the scrub brush, clean the brick. Thoroughly clean any areas with black soot. All colors and contrasts will show through the whitewash, though they will be reduced. Rinse with water. Let the fireplace fully dry.
Mix Paint
Mix cool, clean water to white paint at either a 3:1 or 4:1 ratio. So, three or four quarts of water would be mixed with one quart of paint. The ratio depends on how solid you would like the whitewash color to look.
Test Paint and Create Key Area
Find the least conspicuous area of the fireplace brick, such as brick along the side of the mantel. Use the chip brush to brush some of the whitewash on the brick. Brush it in fully and give it a few minutes to soak in. If you like the look, move to the front. Create a key on a section of four or six bricks. You’ll always use this key as a reference point for your ideal look, since variations may occur during the rest of the process.
Whitewash Brick
Whitewash the rest of the brick with the chip brush. Immediately after brushing an area, follow up by dabbing and wiping with the rag. This helps you blend in the whitewash. Frequently step back and make sure that the fireplace matches the key area.
Whitewashing Interior Painted Brick
Tape, Tarp, and Clean
Use painter’s tape to tape off areas that will not be faux-whitewashed. Tarp the flooring. Use TSP and warm water to clean the brick. Pay close attention to blackened areas. Do not clean the inside of the fireplace.
Cut Sponge
With the scissor, cut the sponge to the size of the front of the brick, mortar not included.
Mix Paint
Pour some of the gray paint into the lined paint tray. Wet the sponge. Press the sponge into the paint but keep it fairly dry. Press the sponge onto a piece of white cardboard or paper to test the color. If you want a lighter color, add some white paint.
Whitewash Brick With Sponge
When you are satisfied with the color, faux-whitewash the fireplace by pressing the sponge onto the brick. You must stay within the lines of the brick. If you have a hard time seeing the mortar, point a light source at a low angle to create depth. Whitewash the rest of the fireplace. Frequently step back and turn the light source toward the fireplace to evaluate your progress.
Whitewashing brick offers an opaquer finish than painting, and it preserves the natural texture of the brick, making it a better option. Painting, on the other hand, is permanent and tends to alter the original finished texture.
Whitewashed brick can last 20 to 30 years and requires very little maintenance. Whitewashing can also protect outdoor brick structures, allowing them to weather slower and maintain their integrity.
It depends on who you ask. Some designers feel that whitewashed brick is a trend that will ebb and flow with the style and times. Others say it will never go out of style, as homeowners prefer the modern look of washed brick over traditional red brick.